How to Edit Videos in CapCut for Beginners
 CreatorPlaybook Team
- 25 Oct, 2026
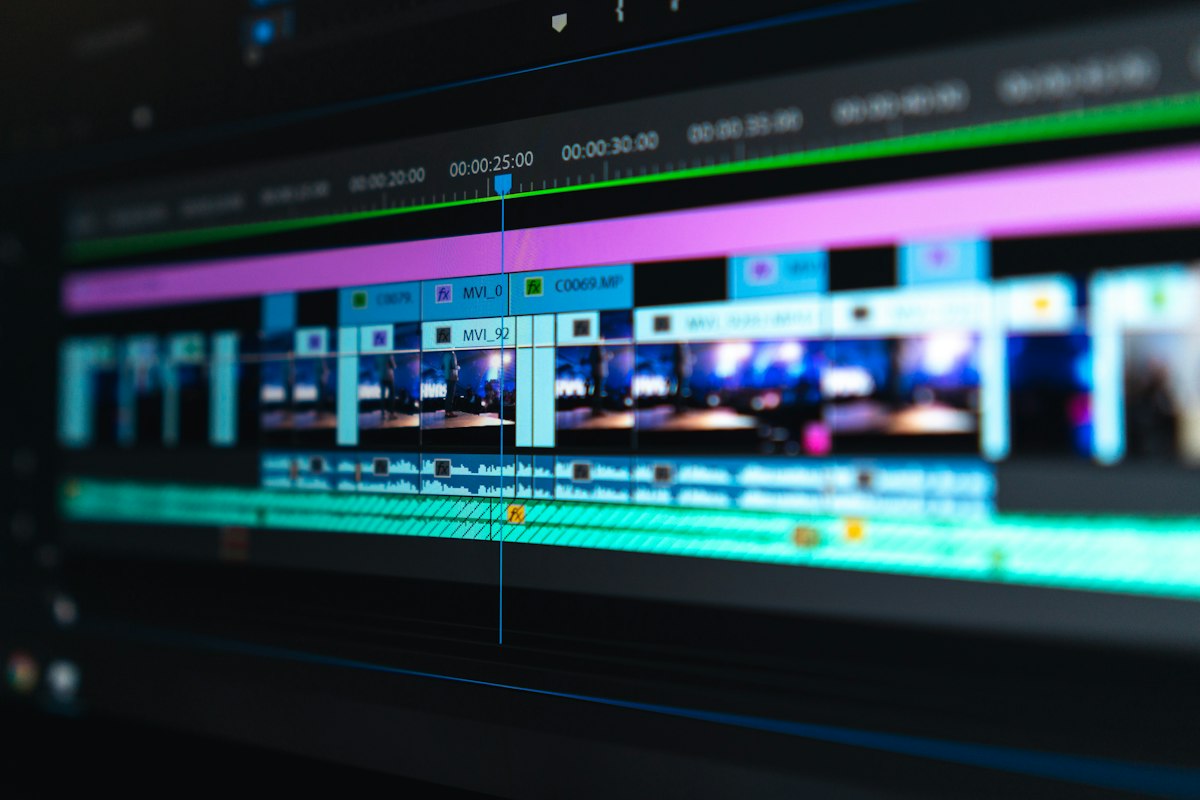
CapCut is a popular, beginner-friendly video editor that works on phones and computers. It is a good starting point for YouTube creators because it combines cutting, text, audio, and effects in one place, without a steep learning curve. You do not need to master every feature to make a clean, watchable video. You need a simple workflow: import, cut, add text and audio, check the result, and export in the right settings.
This guide walks you through that workflow step by step. It focuses on the features beginners actually use most, with examples and mistakes to avoid, so your first edited video looks intentional, not accidental. Features and menus can change with updates, so use this guide as a map, and look for the same feature names in your version of CapCut.
What You Will Learn
- How to start a project and import clips in the right order
- How to cut, trim, and arrange clips on the timeline
- How to add text, captions, and simple transitions
- How to balance music, voice, and sound effects
- How to add B-roll, overlays, and basic effects without clutter
- How to export a video in settings suitable for YouTube
Step 1: Start a Project and Import Your Clips
What to do: Create a new project, choose the right aspect ratio for your video, and import only the clips you plan to use, in rough order. A tidy project saves time later.
How to do it in simple steps:
- Open CapCut and create a new project.
- Choose a horizontal ratio, such as 16:9, for a standard YouTube video, or vertical 9:16 for a Short.
- Import your main clips, plus any B-roll you plan to use.
- Drag the main clips to the timeline in the order you will tell the story.
Practical example: For a tutorial, import the introduction, each main step, and the closing in order. Do not import every clip from your camera roll. Extra clips clutter the timeline and make editing slower and more confusing.
Common mistake to avoid: Starting with the wrong aspect ratio. A horizontal video cropped for vertical, or vice versa, can cut off important parts of the frame. Choose the ratio for the platform and format before you start editing.
Illustrative image: Starting with the right ratio and ordered clips saves editing time. This is an illustrative image, not a screenshot of your channel or another creator’s work.
Step 2: Cut the Clips and Remove Slow Parts
What to do: Cut out mistakes, long pauses, repeated points, and slow introductions. Editing is mostly about removing what does not help the viewer, not about adding effects.
How to do it in simple steps:
- Play through each clip and mark mistakes or long pauses.
- Use the split tool to cut before and after the unwanted part, then delete it.
- Join the remaining clips so the story flows without jumps in meaning.
- Watch the cut once without sound: does the story still make sense?
Practical example: A creator records a five-minute explanation with a two-minute ramble at the start. Cutting the ramble and starting with the main point makes the video four minutes long, clearer, and easier to finish. The cut video is not less complete; it is more useful.
Common mistake to avoid: Keeping a clip because you worked hard to film it. If a clip slows the video or repeats a point, cut it. Viewers judge the finished video, not the effort behind each clip.
 Illustrative image: Cutting slow parts is the most important editing skill for beginners. This is an illustrative image, not a screenshot of your channel or another creator’s work.
Step 3: Add Clear Text and Captions
What to do: Add short on-screen text for key points, steps, and names. Text helps viewers follow tutorials, especially when they watch without sound or on a small screen.
How to do it in simple steps:
- Add a title text at the start that matches your video’s main promise.
- Add short labels for each main step, such as ‘Step 1: Face the light.’
- Use one readable font, one size for body text, and one colour scheme.
- Keep text on screen long enough to read aloud twice, then remove it.
Practical example: A cooking tutorial adds text for each ingredient amount as it is mentioned, so viewers do not need to pause and rewind. A tech tutorial adds text for each setting name, so viewers can follow along on their own device.
Common mistake to avoid: Using many fonts, colours, and animations in one video. Busy text distracts from the lesson and looks unprofessional. One clean style, used consistently, looks better and is easier to read.
 Illustrative image: Short, consistent text helps viewers follow each step. This is an illustrative image, not a screenshot of your channel or another creator’s work.
Step 4: Balance Music, Voice, and Sound Effects
What to do: Make your voice the loudest sound, music quiet in the background, and sound effects rare and purposeful. Good audio makes a simple video feel professional; bad audio makes a good video hard to watch.
How to do it in simple steps:
- Place your voice track first, and check that it is clear throughout.
- Add background music on a separate track, at a low volume under your voice.
- Lower music further, or mute it, during important explanations.
- Use sound effects only for clear actions, such as a click or a transition, not constantly.
Practical example: A creator adds upbeat music at full volume under a tutorial, and viewers cannot hear the instructions. Lowering the music to about 10 to 20 percent of the voice volume, in relative terms, keeps the energy without hiding the lesson. Always listen on headphones and on a phone speaker before exporting.
Common mistake to avoid: Using copyrighted music without rights, or music that is too loud. Copyright claims can limit a video, and loud music can drive viewers away faster than any visual mistake. Use music you have rights to use, and keep it in the background.
 Illustrative image: Voice first, music low, effects sparingly. This is an illustrative image, not a screenshot of your channel or another creator’s work.
Step 5: Add B-Roll, Overlays, and Simple Transitions
What to do: Use B-roll and overlays to show what you are talking about, and use simple cuts or fades between scenes. Visual variety helps viewers stay focused, especially during long explanations.
How to do it in simple steps:
- Film or collect short B-roll clips that show the action you describe.
- Place B-roll over the main clip when you explain a step, then return to the main clip.
- Use simple cuts for most changes, and a fade only for a clear scene change.
- Check that B-roll does not cover important text or the main subject.
Practical example: A creator explaining camera settings shows the camera screen as B-roll while talking, instead of only showing their face. Viewers see the setting being changed, which makes the explanation easier to follow and copy.
Common mistake to avoid: Using a different flashy transition for every cut. Constant spins, zooms, and wipes distract viewers and make a video feel chaotic. Simple cuts are usually the most professional choice for tutorials and vlogs.
 Illustrative image: B-roll shows the action, while simple cuts keep the story clear. This is an illustrative image, not a screenshot of your channel or another creator’s work.
Step 6: Preview, Fix, and Export for YouTube
What to do: Watch the whole video once, fix the biggest problems, and export in high quality with settings suitable for YouTube. A final preview catches mistakes that are easy to miss while editing.
How to do it in simple steps:
- Watch the full video from start to finish, on a phone if possible.
- Note any audio problems, text errors, or awkward cuts, and fix them.
- Check the first 30 seconds especially: is the promise clear?
- Export in high resolution, such as 1080p, with a clear file name, then upload to YouTube.
Practical example: A creator previews a video and notices a spelling mistake in step two, and music that is too loud in the last minute. Fixing both takes ten minutes, but it prevents comments pointing out the mistake and viewers leaving early.
Common mistake to avoid: Exporting at low quality to save time, or exporting without a final watch. Low-quality exports can make a good video look blurry, and unnoticed mistakes are harder to fix after publishing. A short preview is worth the time.
 Illustrative image: A full preview catches errors before viewers do. This is an illustrative image, not a screenshot of your channel or another creator’s work.
Related reading: How to Script a YouTube Video, Voiceover Tips for Clear Audio, and How to Repurpose One Video into Shorts, Reels and Posts.
Checklist for Editing in CapCut
- Correct aspect ratio chosen before editing begins
- Main clips imported in story order, with extras removed
- Slow parts, mistakes, and repeats cut
- Short, consistent text for key steps and titles
- Voice clear, music low, and sound effects purposeful
- B-roll and simple transitions used to support, not distract
- Full preview watched, and video exported in high quality
Frequently Asked Questions
Is CapCut free? CapCut offers free features, with some advanced features and assets available in paid plans, depending on your region and version. Start with the free features, and only consider paid options when you know which feature you actually need.
Can I edit long YouTube videos in CapCut? Yes, many creators edit both Shorts and longer videos in CapCut, especially on phones. For very long or complex projects, you may later move to desktop editing software, but CapCut is enough for most beginner YouTube videos.
How long should editing take? It depends on video length and experience. A simple ten-minute tutorial might take one to three hours for a beginner, including cutting and text. As you build templates and a routine, editing usually gets faster.
Should I use templates? Templates can help you learn, but do not rely on them for every video. A template that does not fit your topic can make a video feel generic. Use templates to learn structure, then adapt them to your own style and content.
What export settings should I use? For most YouTube videos, export in 1080p, which is a good balance of quality and file size, unless your footage and audience need higher resolution. Check YouTube’s current recommended upload settings if you are unsure, and keep your original project file in case you need to re-export.
Editing in CapCut is a skill you build by finishing videos, not by learning every feature at once. Import in order, cut ruthlessly, add clear text and balanced audio, use simple visuals, and preview before you export. Your tenth video will be noticeably cleaner than your first, and your audience will notice the difference.