How to Start a YouTube Channel from Scratch
 CreatorPlaybook Team
- 25 Oct, 2026

Starting a YouTube channel can feel overwhelming, but you do not need expensive equipment or a perfect plan to begin. You need a clear topic, a simple setup, and a habit of publishing and learning from each video. This guide walks you through that process in plain, practical steps. By the end, you will know how to choose a topic, set up your channel, plan your first videos, record with what you have, publish confidently, and improve one thing at a time.
What you will learn: how to pick a topic you can sustain, how to create and brand a channel in one sitting, how to plan five strong first videos, how to record and edit simply, and how to review your results without getting discouraged. The images in this guide are illustrative examples to show the idea behind each step. They are not screenshots of your own channel.
Step 1: Pick a clear topic and audience
What to do: Choose one main topic and one main viewer you want to help. A clear channel is easier to explain, easier to find, and easier to grow than a channel about everything.
How to do it:
- Write down five subjects you enjoy and could talk about for at least 20 videos.
- For each subject, write one sentence that starts with: “This channel helps [a specific person] to [a specific result].”
- Pick the sentence that feels most specific and most exciting to you.
- Search YouTube for that topic and note three channels that already cover it. Ask what angle is missing: simpler explanations, budget options, short routines, or local examples.
- Write your topic and viewer on one line and keep it where you plan videos.
Practical example: Instead of “cooking,” choose “budget cooking for students.” A first video could be “Five dinners under $5 that take less than 20 minutes.” A viewer immediately knows whether the video is for them.
Common mistake to avoid: Do not try to cover every interest at once. Viewers subscribe when they know what to expect next. You can widen your topic later, after you have a loyal audience.
Illustrative image: Planning your topic and first ideas on paper or a laptop. Do this: write your one-sentence channel promise before you record anything.
Step 2: Create your channel and set the basics
What to do: Create the channel, choose a clear name, and complete the profile so a new visitor understands it in five seconds.
How to do it:
- Sign in to YouTube, open your channel settings, and create a new channel.
- Choose a short, easy-to-spell name that matches your topic. Avoid numbers and symbols that are hard to say aloud.
- Add a simple profile picture: your face, your logo, or a clear symbol, with strong contrast.
- Write a short description that says who the channel helps, what it covers, and how often you plan to post.
- Add a simple banner with your channel name and topic. Keep the text large and readable on a phone.
- Check how the channel looks on mobile, because most viewers will find you there first.
Practical example: A channel called “Budget Student Kitchen” might use the description: “Simple, cheap meals for students. New videos every Saturday.” That tells a visitor everything they need to decide whether to subscribe.
Common mistake to avoid: Do not spend weeks designing a logo or banner before your first video. A clean, simple setup is enough. Your videos matter more than your graphics at the start.

Illustrative image: A phone showing video apps. Do this: after setup, open your channel on your phone and check that the name, picture, and description are clear.
Step 3: Plan your first five videos
What to do: Plan five videos before you worry about perfection. Each video should answer one question, solve one problem, or teach one skill.
How to do it:
- List questions beginners in your topic ask again and again.
- Turn each question into a working title, such as “How to Start a Small Garden on a Balcony.”
- For each title, write the main point in one sentence, plus three supporting points.
- Put the most useful point first, so viewers get value in the first minute.
- Write a simple ending for each video: one action the viewer can try today.
- Order the five videos from easiest to hardest, so early viewers can follow along.
Practical example: For budget cooking, the first five titles could cover one cheap dinner, one cheap breakfast, pantry basics, a shopping list, and five common mistakes. Together, they give a new viewer a complete starting point.
Common mistake to avoid: Do not plan only “welcome to my channel” videos. Viewers search for help, not introductions. Start with a useful video, and let your personality show inside it.

Illustrative image: Planning a short list of video ideas. Do this: write your five titles and one main point for each before you record.
Step 4: Record with what you have
What to do: Record your first video using a phone, natural light, and a quiet room. Clear sound and a clear message matter more than a fancy camera.
How to do it:
- Choose a quiet room and close windows and doors to reduce background noise.
- Face a window for soft, natural light, or place a lamp behind the camera.
- Put your phone on a stable surface or tripod at eye level.
- Record a 10-second test clip, then listen with headphones. Move closer to the microphone if your voice sounds distant.
- Speak slowly, look at the camera, and record in short sections if that feels easier.
- Record the opening twice: once normally, and once with more energy, then choose the better version.
Practical example: If you are filming a recipe, set the phone where it can see your hands and the pan, not just your face. Show each step as you explain it, and say the ingredient amounts clearly.
Common mistake to avoid: Do not record in a noisy, dark room and hope editing will fix it. Good light and quiet audio at the recording stage save hours later.
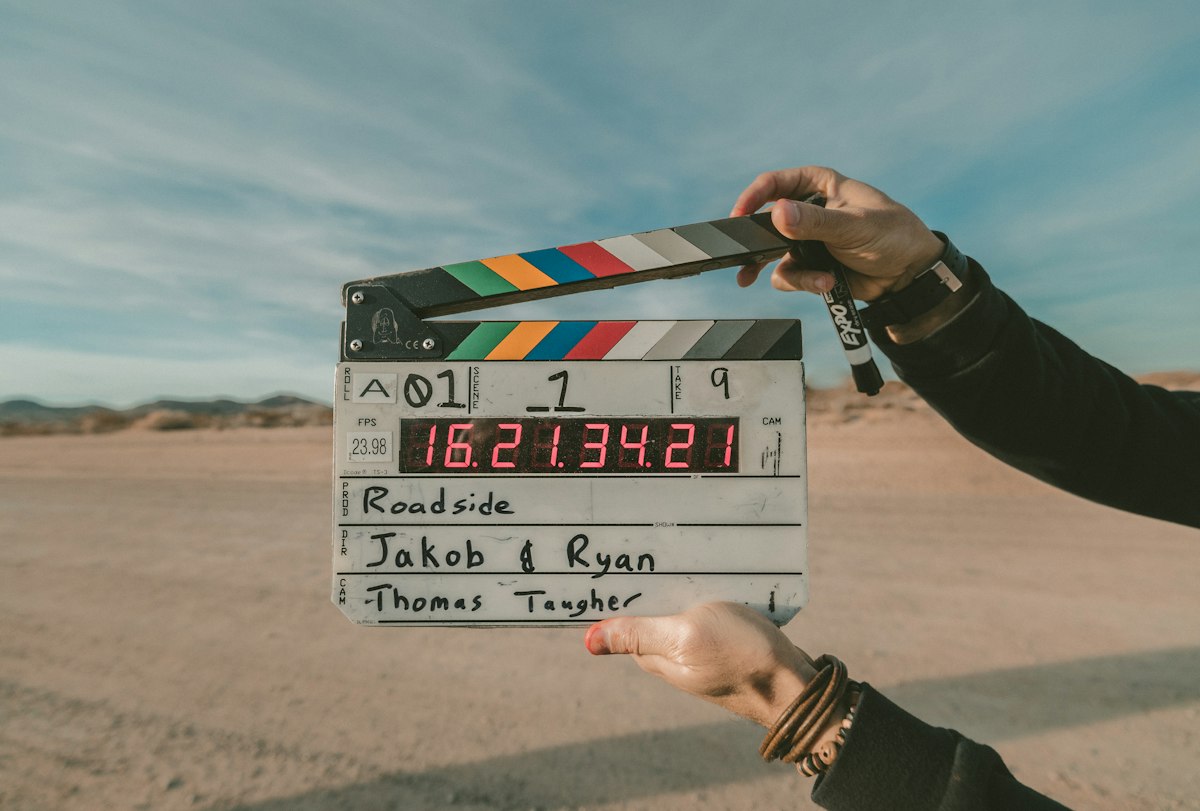
Illustrative image: Basic video recording equipment. Do this: test your light, framing, and sound for 10 seconds before recording the full video.
Step 5: Edit simply and publish
What to do: Edit out long pauses and mistakes, add a clear title and thumbnail, and publish. Your first videos do not need complex effects.
How to do it:
- Cut long silences, repeated sentences, and any part that does not help the viewer.
- Keep the opening short: state the result or question in the first 30 seconds.
- Add simple text on screen for key steps, amounts, or links to remember.
- Write a title that matches the video exactly, and a description that explains what the viewer will learn.
- Create a thumbnail with a clear image, a short phrase, and good contrast.
- Publish, then watch the video once as a viewer and note one thing to improve next time.
Practical example: A 12-minute raw recording might become a clear 7-minute video after you cut repeated explanations and long pauses. That shorter video is often easier to watch and more likely to be finished.
Common mistake to avoid: Do not promise something in the title that the video does not deliver. That may get a click, but viewers will leave quickly and may not return.

Illustrative image: A camera ready for filming and editing. Do this: after editing, check that the title, thumbnail, and first 30 seconds all promise the same thing.
Step 6: Improve one thing at a time
What to do: After each video, pick one improvement and use it in the next video. Small, steady improvements build a channel faster than trying to fix everything at once.
How to do it:
- Look at how long viewers watch on average and where they stop watching.
- Read comments and note questions, praise, and confusion.
- Choose one focus for the next video: a stronger opening, clearer audio, a better thumbnail, or a tighter ending.
- Write that focus at the top of your plan for the next video.
- Repeat the same topic format at least three times before judging it, so you have enough information to decide what works.
- Keep a simple log: video title, what you tried, what worked, and what to change next.
Practical example: If viewers leave in the first minute, your next improvement could be a faster opening: state the result in the first 15 seconds, then show a quick preview of the steps.
Common mistake to avoid: Do not change your topic, style, and schedule all at once after one quiet video. When you change everything, you cannot tell which change helped.

Illustrative image: Reviewing simple charts and results. Do this: after each video, write down one number, one comment theme, and one improvement for next time.
Related reading: How to Choose a Good YouTube Channel Name, How to Choose the Best YouTube Niche in 2026, and Your First 90 Days on YouTube: A Beginner Roadmap.
Checklist: Start your channel this week
- Write your one-sentence channel promise.
- Create the channel and complete the name, picture, and description.
- Plan five useful first videos.
- Record a test clip and check light and sound.
- Edit simply, publish, and note one improvement.
- Repeat the same process for the next four videos.
FAQ
Do I need expensive equipment to start? No. A phone, natural light, and a quiet room are enough for your first videos. Improve equipment only when a clear problem, such as poor audio, is holding you back.
How long should my first videos be? As long as they need to be to explain one idea clearly. Many beginners do well with videos between five and ten minutes, with no filler.
How often should I post? Choose a schedule you can keep for at least three months, even if that is once a week. Consistency matters more than a short burst of daily videos followed by silence.
What if my first videos get few views? That is normal. Early videos are practice and a library for future viewers. Focus on making each video clearer than the last, and on learning from comments and watch time.
When should I change my topic? Give a focused topic at least five to ten videos before deciding. If you still do not enjoy it, or cannot find questions to answer, then adjust the angle rather than starting over completely.
Conclusion: Start simple, publish your first videos, and let your channel improve in public. Consistency and helpful content matter more than perfection at the beginning. Choose your topic today, plan your first five videos, and record the first one this week.