Showing Posts From
Audio
 CreatorPlaybook Team
- 25 Oct, 2026
Which Mic Should You Buy for YouTube
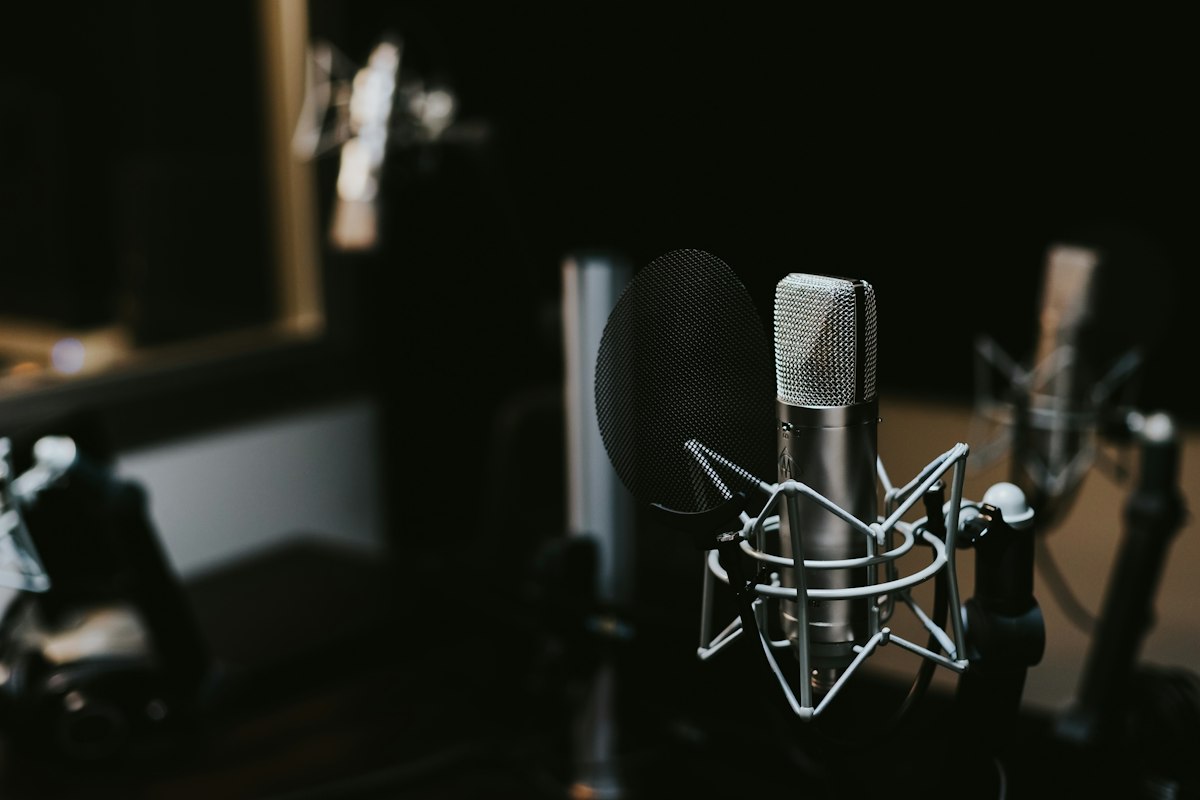
Audio is the fastest way to make a YouTube video feel professional, and the wrong microphone is the fastest way to lose viewers. Viewers will forgive a modest camera, but they rarely forgive muffled, echoey, or distant sound. Choosing a microphone does not mean buying the most expensive one. It means matching the microphone to where you film, how you move, and what your videos sound like. This guide answers a simple question: which mic should you buy for YouTube? It compares USB microphones, lavalier microphones, and shotgun microphones, explains when each one works best, and gives a practical buying plan for beginners, talking-head creators, vloggers, and voiceover creators. You do not need to understand every technical term to choose well; you need to know your room, your format, and your budget. Related guides: Voiceover Tips for Clear Audio, Lighting Setup on a Budget for YouTube Videos, and How to Edit Videos in CapCut for Beginners. What You Will LearnHow USB, lavalier, and shotgun microphones differ Which mic suits talking-head, vlog, and voiceover videos How your room affects microphone choice How to test a microphone before you commit What accessories actually improve sound How to upgrade in stages without wasting moneyStep 1: Start With Your Room and Your Format, Not the Price Tag What to do: Before you shop, describe where you film and how you move. A quiet, small room with soft furniture is forgiving. A large, echoey room, a noisy street, or a moving vlog needs a microphone that rejects unwanted sound. A creator who sits at a desk has different needs from one who walks, cooks, or films outdoors. The best microphone is the one that suits your real filming conditions, not the one a famous creator uses in a studio. How to do it in simple steps:Film a test clip with your phone in your usual room and listen for echo, fan noise, and traffic. Note whether you sit still, move around, or film outside. Decide whether you record voiceover separately or live on camera. Write down your budget and the one problem you most want to fix, such as echo or low volume.Practical example: A creator films tutorials at a desk in a quiet bedroom. A USB microphone on a small arm, close to the mouth, solves their problem for a modest price. The same creator would struggle with a distant camera microphone, which picks up the whole room. Common mistake to avoid: Buying a popular studio microphone for a noisy, echoey room and expecting it to fix the room. A sensitive microphone in a bad room often sounds worse than a simpler microphone placed close to your mouth. Illustrative image: Choose a microphone for your room and format, not only for its price. This is an illustrative image, not a screenshot of your channel or another creator's work. Step 2: Choose a USB Microphone for Desk and Voiceover Work What to do: If you record at a desk, for tutorials, voiceovers, or talking-head videos, a USB microphone is usually the simplest and best-value choice. It connects directly to a computer, needs no extra audio interface, and is easy to set up. Look for a cardioid pattern, which picks up sound mainly from the front and rejects some sound from behind, and for a headphone jack so you can hear yourself while recording. How to do it in simple steps:Choose a USB microphone with a cardioid pattern and a headphone output. Place it 15 to 25 centimetres from your mouth, slightly off to one side. Use a small boom arm or stand so the microphone stays in the same place. Record a test and check for plosives, those popping sounds on words starting with P and B.Practical example: A voiceover creator records narration for tutorials with a USB microphone, a pop filter, and a blanket hung behind the desk to reduce echo. The result sounds clear and close, without a studio or an expensive audio interface. Common mistake to avoid: Placing the microphone far away on the desk, or behind a laptop, and then raising the volume in editing. Distance and noise are much harder to fix after recording than they are to prevent while recording. Illustrative image: A USB microphone close to your mouth beats a distant microphone every time. This is an illustrative image, not a screenshot of your channel or another creator's work. Step 3: Choose a Lavalier Microphone for Moving and On-Camera Work What to do: If you move while filming, teach with your hands, cook, or walk and talk, a lavalier, or lapel, microphone is often the best choice. It clips to your clothing, stays close to your mouth wherever you move, and keeps your voice clear even when the camera is far away. Wireless lavalier systems are more convenient, while wired lavaliers are cheaper and simpler, especially for a phone. How to do it in simple steps:Clip the microphone about 15 centimetres below your chin, on the centre of your chest. Hide the cable under clothing where possible, and avoid fabric rubbing against the microphone. Test while moving, turning your head, and handling props. Carry spare batteries or a charged receiver for wireless systems.Practical example: A cooking creator clips a small lavalier to an apron and films from across the kitchen. The voice stays clear while hands are busy, and the camera microphone would have sounded distant and echoey by comparison. Common mistake to avoid: Clipping the microphone too low, under a scarf, or next to a rustling jacket. Placement matters more than the brand: a well-placed budget lavalier often beats an expensive one clipped badly. Illustrative image: A lavalier microphone keeps your voice close even when you move. This is an illustrative image, not a screenshot of your channel or another creator's work. Step 4: Choose a Shotgun Microphone for Camera and Outdoor Work What to do: If you film with a camera, outdoors, or at events, a shotgun microphone mounted on the camera is a strong choice. Shotgun microphones focus mainly on sound in front of them and reject some sound from the sides, which helps when you cannot clip a microphone to the speaker. They are also useful for vlogging, interviews, and run-and-gun filming, especially with a wind cover outdoors. How to do it in simple steps:Mount the shotgun microphone on the camera shoe, pointing toward the speaker. Add a foam cover indoors and a furry wind cover outdoors. Keep the camera as close to the speaker as your shot allows. Monitor with headphones when possible, and check levels before filming.Practical example: A vlogger films street interviews with a camera-mounted shotgun microphone and a wind cover. Voices stay intelligible despite traffic, while the built-in camera microphone would have sounded thin and noisy. Common mistake to avoid: Standing far away and expecting a shotgun microphone to work like a lavalier. Even a directional microphone sounds distant if the speaker is several metres away; get closer, or switch to a lavalier. Illustrative image: A shotgun microphone helps outdoors, but distance still matters. This is an illustrative image, not a screenshot of your channel or another creator's work. Step 5: Test Before You Buy, and Test Again After What to do: Test any microphone in your real conditions before you decide it is the right one. Listen for clarity, background noise, handling noise, and how it sounds on headphones and on a phone speaker. Many viewers listen on phones, so a microphone that sounds rich on studio headphones but muddy on a phone may not be the best choice. Keep the receipt and the return window in mind, and test within the first few days. How to do it in simple steps:Record the same script with your old setup and the new microphone, in your usual room. Listen on headphones, a phone speaker, and a laptop speaker. Ask one honest listener which version is easier to understand. Test movement, silence, and background noise, not only a perfect take.Practical example: A creator tests two microphones with the same tutorial script. On paper, the more expensive one looks better, but in their echoey room the cheaper, closer microphone is clearer. They keep the cheaper one and spend the difference on soft furnishings and a pop filter. Common mistake to avoid: Judging a microphone only by online reviews recorded in treated studios. Your room, your voice, and your distance matter more than a reviewer's room. Illustrative image: Test microphones in your own room, with the same script. This is an illustrative image, not a screenshot of your channel or another creator's work. Step 6: Upgrade in Stages and Fix the Room First What to do: Upgrade in a sensible order: microphone placement, room treatment, a suitable microphone, then accessories such as a boom arm, pop filter, and shock mount. Soft furnishings, curtains, rugs, and a blanket behind you reduce echo for free or very little money. Only after placement and room are reasonable should you consider an audio interface, an XLR microphone, or a second microphone for a different format. How to do it in simple steps:Fix placement first: get the microphone close and consistent. Add soft materials to reduce echo in your filming space. Add a pop filter and a stable stand or arm. Upgrade to a new microphone type only when your format changes.Practical example: A creator starts with a phone and a wired lavalier, then adds a USB microphone for voiceovers, and only later adds a shotgun microphone for outdoor vlogs. Each purchase solves a real problem, and none sits unused. Common mistake to avoid: Buying an expensive XLR microphone and audio interface before learning placement and room treatment. The extra equipment adds complexity without fixing the echo and distance problems that actually hurt sound. Illustrative image: Upgrade in stages, starting with placement and your room. This is an illustrative image, not a screenshot of your channel or another creator's work. Checklist for Choosing a YouTube MicrophoneRoom and format described before shopping Microphone type matched to desk, movement, or outdoor filming Microphone placed close to the mouth, consistently Test recording checked on headphones and a phone speaker Pop filter, stand, and wind cover added where needed Room echo reduced with soft materials Upgrade plan based on real problems, not trendsFrequently Asked Questions Is a USB microphone good enough for YouTube? Yes, for most desk and voiceover creators. A good USB microphone, placed close and used in a reasonably quiet room, sounds clear and professional for tutorials, commentary, and narration. Should I buy a lavalier or a shotgun microphone? Choose a lavalier if you move and need your voice close at all times. Choose a shotgun microphone if you film with a camera, outdoors, or with several speakers in front of the camera. Do I need an audio interface? Not at first. USB microphones work without one. Consider an interface only when you want an XLR microphone, multiple microphones, or more control over recording. Why does my microphone sound echoey? Usually because the microphone is too far away, or the room is hard and empty. Move closer, add soft furnishings, and test again before buying a new microphone. Can I start with just my phone? Yes, especially with a wired lavalier for clear, close sound. A phone with a good lavalier often sounds better than a camera with a built-in microphone, and it is a sensible first step. The right microphone is the one that fits your room, your movement, and your videos. Test in real conditions, place it close, fix the room, and upgrade only when a new problem appears.
- CreatorPlaybook Team
- 25 Oct, 2026
Voiceover Tips for Clear Audio
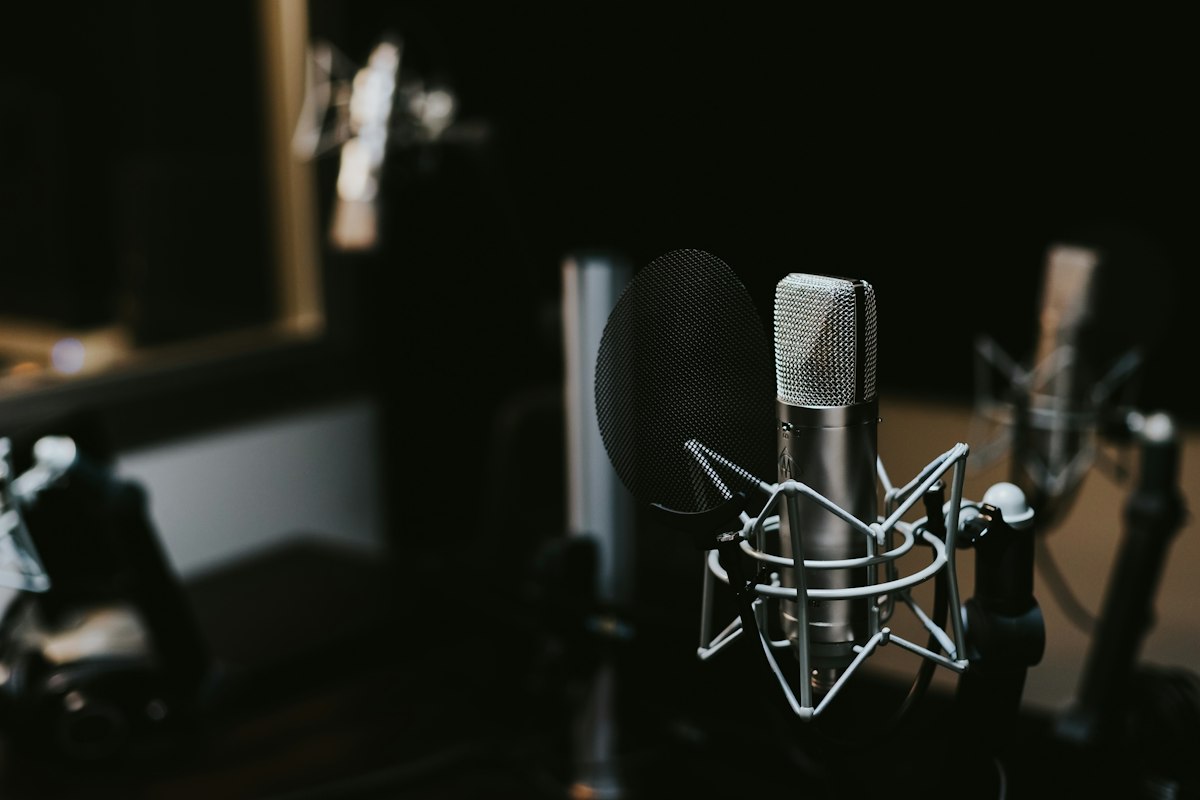
Viewers will forgive a slightly shaky picture, but they will leave a video with bad audio in seconds. Clear voiceover is not about having an expensive microphone. It is about a quiet room, a steady distance from the mic, a natural speaking pace, and a few simple checks before you record. This guide shows you how to get clean, warm, easy-to-hear audio with the equipment you already have. Related guides: How to Script a YouTube Video, YouTube Live Streaming for Beginners, and How to Edit Videos in CapCut for Beginners. What You Will LearnHow to choose the quietest room you already have How to place your microphone for clear, even sound How to speak at a pace viewers can follow How to record a test clip and fix problems early How to reduce echo, hiss, and background noise How to do a simple edit that makes voiceover sound polishedStep 1: Pick a Small, Quiet Room What to do: Record in the smallest, softest room you can find, away from traffic, fans, and appliances. Sound bounces off hard walls and floors, which creates echo. Soft surfaces, such as curtains, bedding, books, and clothes, absorb sound and make your voice sound closer and warmer. How to do it in simple steps:Turn off fans, air conditioning, and noisy appliances for the recording. Close windows and doors, and warn others in the house that you are recording. Choose a room with carpet, curtains, or furniture rather than a bare bathroom or kitchen. If the room still echoes, hang a blanket behind you and record facing the soft surface.Practical example: A creator records in a large empty living room and hears a hollow echo. Moving into a smaller bedroom, closing the curtains, and recording near a wardrobe full of clothes removes most of the echo without buying anything. Common mistake to avoid: Recording next to an open window or a running fan because the picture looks good there. Listeners notice the noise long before they notice the view. Illustrative image: A small, quiet room beats a large, echoey one. This is an illustrative image, not a screenshot of your channel or another creator’s work. Step 2: Place the Microphone at a Steady Distance What to do: Keep the microphone the same distance from your mouth for the whole recording, about a hand’s width away, slightly to one side. When you move closer and farther, your volume jumps up and down, and listeners have to keep adjusting. How to do it in simple steps:Hold your hand flat between your mouth and the mic, about 15 centimetres away, and keep that gap. Angle the mic slightly off to the side, so breath sounds do not hit it directly. Use a stand, a stack of books, or a phone holder, rather than holding the mic in your hand. If you use a phone, place it on a stable surface at the same height as your mouth.Practical example: A creator records a tutorial while holding a phone and moving it around. The audio fades in and out. Placing the phone on a stack of books, 15 centimetres away, makes the whole recording even, even though the equipment is the same. Common mistake to avoid: Leaning in for emphasis and pulling back to read notes. Big distance changes create big volume changes that are hard to fix later. Illustrative image: A steady mic distance keeps your volume even. This is an illustrative image, not a screenshot of your channel or another creator’s work. Step 3: Speak Steadily, and Breathe on Purpose What to do: Speak a little slower than you think you need to, pause between ideas, and breathe quietly through your nose when you need air. Fast, breathless speech is hard to follow, especially for viewers watching in a second language or at higher playback speeds. How to do it in simple steps:Read your script aloud once before recording, at a pace a friend could take notes from. Pause for one second after each main point, so the idea lands. Drink water before you start, and keep a glass nearby for longer sessions. If you stumble, pause, breathe, and repeat the sentence, rather than rushing through it.Practical example: A creator explains three settings in one long, fast sentence, and viewers replay it three times. Slowing down, pausing after each setting, and naming each one clearly turns the same information into a lesson viewers understand first time. Common mistake to avoid: Speaking faster when you feel nervous. Speed does not sound confident. Pauses sound confident, because they show you are in control of the message. Illustrative image: A steady pace and clear pauses help viewers follow you. This is an illustrative image, not a screenshot of your channel or another creator’s work. Step 4: Record a 30-Second Test Before the Real Take What to do: Before every session, record 30 seconds, listen back on headphones, and fix any problem you hear. A test takes half a minute and can save a whole recording that would otherwise need to be redone. How to do it in simple steps:Record your opening lines exactly as you will record the video. Listen back with headphones, not speakers, so you hear hiss, echo, and clicks. Check three things: volume, clarity, and background noise. Fix the loudest problem first, such as moving the mic, closing a window, or lowering the input level, then test again.Practical example: A creator records a test and hears a faint fridge hum. Moving to another room and recording again removes the hum. Without the test, the hum would have been in a 20-minute video. Common mistake to avoid: Recording for an hour and only listening afterwards. By then, a small problem has become a large one, and re-recording feels like starting over. Illustrative image: Listen to a test clip on headphones before you record. This is an illustrative image, not a screenshot of your channel or another creator’s work. Step 5: Reduce Echo, Hiss, and Mouth Sounds Gently What to do: Fix most noise at the source, and use only light cleanup in editing. Heavy noise removal can make a voice sound robotic or underwater, which is worse than a little room sound. How to do it in simple steps:Move closer to soft surfaces and farther from noisy ones before you touch any filter. Set your recording level so loud words do not distort, and quiet words are still audible. In editing, apply a small amount of noise reduction, and listen after each step. Remove only obvious clicks and long silences, and keep natural breathing.Practical example: A creator’s recording has a light computer fan sound. Turning the computer to face away, recording facing a curtain, and applying a gentle noise reduction makes the voice clean. Applying maximum noise reduction instead would have made the voice sound thin and strange. Common mistake to avoid: Chasing perfect silence with strong filters. A voice that sounds natural with a little room tone is far better than a voice that sounds processed and unnatural. Illustrative image: Fix noise at the source first, then clean up gently. This is an illustrative image, not a screenshot of your channel or another creator’s work. Step 6: Edit for Flow, Then Listen One Last Time What to do: After editing, listen to the whole voiceover from start to finish, at normal volume, and check that the level stays even and the meaning stays clear. This final listen catches volume jumps, repeated sentences, and missing words that are easy to miss while editing. How to do it in simple steps:Listen once without watching the video, so you focus only on sound. Note any place where the volume suddenly changes or a word is unclear. Fix those places with small volume adjustments, not by re-recording everything. Export, then listen to the first 30 seconds on a phone speaker, because many viewers will hear it that way.Practical example: A creator edits a cooking voiceover and, on the final listen, finds one section recorded much quieter after a break. Raising that section by a small amount makes the whole video feel consistent, and viewers never notice the fix. Common mistake to avoid: Skipping the final listen because the edit looks finished on the timeline. Timelines do not show volume problems. Ears do. Illustrative image: A final full listen catches what editing hides. This is an illustrative image, not a screenshot of your channel or another creator’s work. Checklist for Clear Voiceover AudioSmall, quiet room with soft surfaces chosen Microphone steady, about a hand’s width away, slightly to the side Steady pace with pauses between main points 30-second test recorded and listened to on headphones Echo and hiss reduced at the source, with only gentle cleanup Full voiceover listened to once before publishingFrequently Asked Questions Do I need an expensive microphone for clear audio? No. A phone in a quiet room with a steady distance often sounds better than an expensive microphone in an echoey, noisy room. Improve the room first, then the microphone. Why does my voice sound different on recordings? You normally hear your voice partly through your bones, while a recording captures only the sound in the air. Record, listen, and adjust your pace and distance, and the recorded voice will start to sound like the voice you want. Should I use background music under voiceover? Only very quietly, and only if it does not compete with your words. If viewers have to strain to hear you, turn the music down or remove it. How do I handle mouth clicks and breaths? Drink water, avoid recording right after eating, and leave short pauses. Remove only loud clicks in editing, and keep natural breathing, because a voice with no breath sounds unnatural. Can I fix bad audio completely in editing? Editing can improve audio, but it cannot fully rescue a recording with loud echo, distortion, or constant noise. The best fix is always a better recording, so test first and record again when needed. Clear audio is a habit, not a purchase. Choose a quiet room, keep your distance steady, speak at a pace viewers can follow, test before you record, clean up gently, and listen once more before you publish, and your videos will sound professional long before you buy new equipment.