Showing Posts From
Camera
 CreatorPlaybook Team
- 25 Oct, 2026
Which Camera Should You Use for YouTube
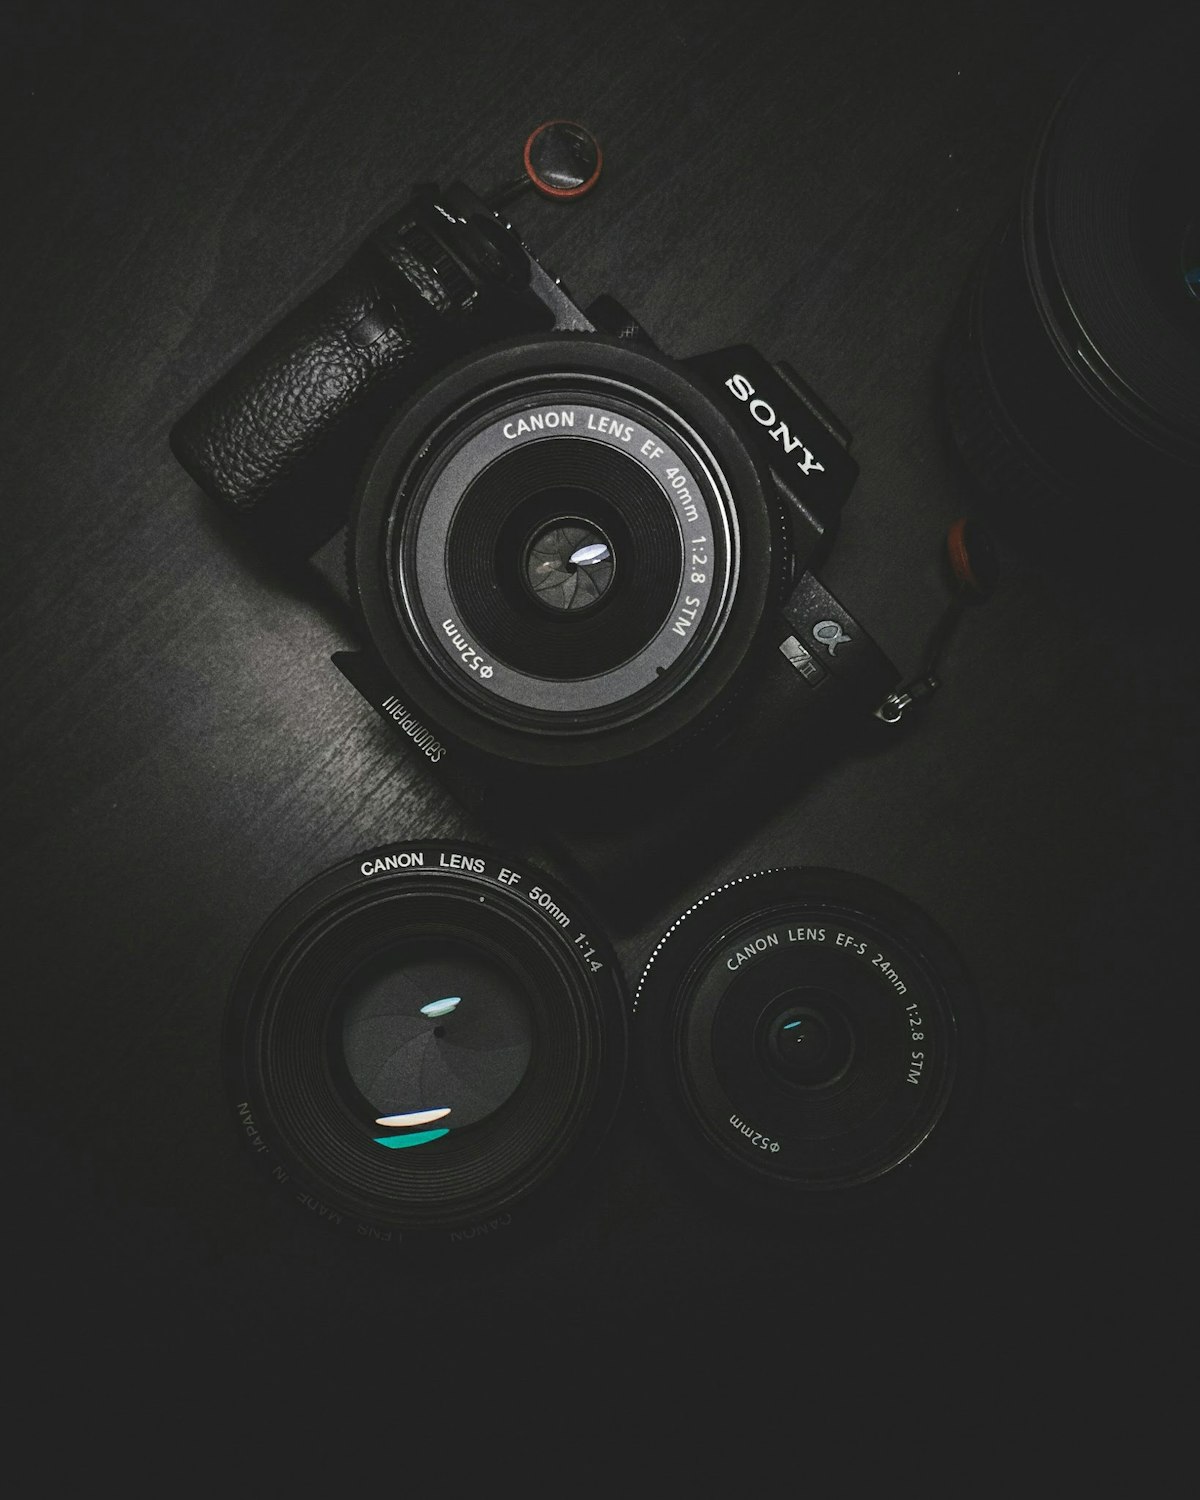
Choosing a camera for YouTube feels overwhelming because every review promises that one more upgrade will transform your channel. In reality, most beginners already own a capable camera: their phone. Viewers care far more about clear audio, good lighting, and a useful video than about sensor size or megapixels. The right camera is the one that fits your format, your budget, and the way you actually film. This guide compares the main choices for YouTube: phones, webcams, mirrorless cameras, and action cameras. It explains when each one makes sense, what features matter for video rather than photography, and how to upgrade in stages. By the end, you will know whether to start with what you own, buy a modest webcam, or invest in a dedicated camera, and what to spend on first instead of a camera. Related guides: Lighting Setup on a Budget for YouTube Videos, Voiceover Tips for Clear Audio, and How to Edit Videos in CapCut for Beginners. What You Will LearnWhen a phone is enough for YouTube How webcams, mirrorless, and action cameras compare Which video features actually matter How lighting and audio affect camera choice How to test a camera in your real filming space How to upgrade in sensible stagesStep 1: Start With the Camera You Already Own What to do: Before you buy anything, test your phone as a YouTube camera. Modern phones record sharp video, focus well in good light, and are easy to edit on. Many successful channels started with a phone, a simple tripod, and good audio. Spend your first money on a microphone and lighting, which improve perceived quality far more than a new camera body in a dim room. How to do it in simple steps:Film a test video in your usual room, facing a window in daylight. Use the rear camera where possible, with the phone on a tripod. Record with an external microphone or a lavalier, not only the phone microphone. Watch the test on a television or laptop, not only on the phone screen.Practical example: A tutorial creator films with a mid-range phone, a small tripod, and a wired lavalier, in front of a window. Viewers comment on how clear the videos look, even though no dedicated camera was used. The creator later buys a camera only when they need better low-light performance and interchangeable lenses. Common mistake to avoid: Buying an expensive camera before learning framing, lighting, and audio. A costly camera in a dark, echoey room still produces a dark, echoey video, while a phone in good light with clear audio looks professional. Illustrative image: A phone in good light with clear audio is a strong starting camera. This is an illustrative image, not a screenshot of your channel or another creator's work. Step 2: Consider a Webcam for Desk and Streaming Videos What to do: If you film at a desk, record tutorials, stream, or make talking-head videos for a computer audience, a good webcam can be simpler than a phone or a mirrorless camera. A webcam connects by USB, works with recording and streaming software, and stays in place. Look for 1080p video, good low-light performance, and a wide enough field of view for your framing, rather than chasing 4K alone. How to do it in simple steps:Place the webcam at eye level, not looking up from a laptop. Light your face from the front, with a window or a lamp. Use an external microphone, even if the webcam has one built in. Test framing: head and shoulders, with a little space above your head.Practical example: A coding tutorial creator uses a webcam at eye level, a desk lamp as a key light, and a USB microphone. The setup takes two minutes to start, produces consistent videos, and avoids the cables and settings of a larger camera. Common mistake to avoid: Placing a webcam below eye level, which creates an unflattering angle, or filming in a dark room and blaming the webcam. Position and light matter more than the webcam model. Illustrative image: A webcam at eye level suits desk videos and streaming. This is an illustrative image, not a screenshot of your channel or another creator's work. Step 3: Choose a Mirrorless Camera When You Need More Control What to do: Consider a mirrorless camera when you want shallow depth of field, better low-light video, interchangeable lenses, or a more polished look for a studio or location channel. Mirrorless cameras offer manual controls, clean video output, and excellent autofocus in many models, but they also need lenses, batteries, memory cards, and sometimes a capture device for streaming. Budget for the whole system, not only the camera body. How to do it in simple steps:List what you need: low light, autofocus, flip screen, or microphone input. Choose a lens that suits your distance, often a wide or standard zoom for indoor filming. Check that the camera has a microphone input and a flip screen for self-filming. Test recording limits and battery life for your usual video length.Practical example: A studio creator upgrades to a mirrorless camera with a 24mm lens, a shotgun microphone, and two batteries. The background blurs softly, low-light videos look cleaner, and the channel's look improves, but only because lighting and audio were already good. Common mistake to avoid: Buying a mirrorless camera for photography features you will never use for video, or choosing a model without a microphone input. Video features, not photo megapixels, should drive the choice. Illustrative image: A mirrorless camera adds control, but needs lenses, batteries, and audio. This is an illustrative image, not a screenshot of your channel or another creator's work. Step 4: Choose an Action Camera for Movement and Outdoors What to do: If you vlog while moving, film sports, travel, or work outdoors in rain or dust, an action camera is often the practical choice. Action cameras are small, tough, stabilised, and easy to mount on a chest, helmet, or handlebar. Their wide angle suits movement, but it can distort close faces, and their small sensors struggle in low light compared with larger cameras. Use them for what they do best, and use another camera for quiet, indoor talking-head videos. How to do it in simple steps:Choose a mount that keeps the camera stable and at a natural height. Use a wind cover or an external microphone adapter for clear audio outdoors. Film in good daylight where possible, and avoid very dark scenes. Carry spare batteries, because stabilisation and 4K drain power quickly.Practical example: A travel vlogger mounts an action camera on a chest harness for walking tours, then switches to a phone for indoor interviews. Each camera does the job it suits, and neither is forced to do everything. Common mistake to avoid: Using an action camera as your only camera for close, indoor talking-head videos. The wide angle and small sensor make faces look distant and noisy in low light, even though the same camera looks great outdoors. Illustrative image: Action cameras suit movement and outdoors, not close indoor filming. This is an illustrative image, not a screenshot of your channel or another creator's work. Step 5: Compare the Video Features That Actually Matter What to do: When comparing cameras, focus on video features: resolution and frame rate, autofocus, stabilisation, microphone input, flip screen, battery life, and low-light performance. Resolution above 1080p matters less than good light and stable footage for most beginners. A camera that focuses smoothly, stays stable, and records clear audio will serve you better than one with impressive specifications that is hard to use. How to do it in simple steps:Write down your top three needs, such as autofocus, microphone input, and flip screen. Ignore features you will not use, such as advanced photo modes. Compare real video samples in similar light to your filming space. Check total cost, including lens, tripod, batteries, and memory cards.Practical example: A creator compares two cameras: one offers 4K but has no microphone input, the other offers 1080p with a microphone input, flip screen, and reliable autofocus. They choose the second, because clear audio and usable framing matter more than 4K on a small channel. Common mistake to avoid: Choosing a camera only because it shoots 4K, then uploading in 1080p anyway, with poor audio. Specifications should serve your workflow, not impress a specification sheet. Illustrative image: Compare autofocus, audio input, and low light, not only resolution. This is an illustrative image, not a screenshot of your channel or another creator's work. Step 6: Test, Then Upgrade in Stages What to do: Test any new camera in your real space before the return window closes. Film your usual format, in your usual light, with your usual microphone, and watch the result on a large screen. Then upgrade in stages: tripod and microphone first, lighting second, camera third, and lenses or accessories only when a specific limitation appears. This order prevents expensive purchases that do not solve your actual problem. How to do it in simple steps:Film the same script with your old and new camera, in the same light. Check focus, colour, stabilisation, and audio on a large screen. Note one real improvement and one remaining limitation. Buy the next upgrade only to fix that remaining limitation.Practical example: A creator starts with a phone, adds a tripod and lavalier, then lighting, then a webcam for desk work, and only later a mirrorless camera for a studio series. Each step improves videos noticeably, and no purchase sits unused. Common mistake to avoid: Upgrading cameras every few months in search of a look that actually comes from lighting, framing, and editing. A new camera rarely fixes a lighting or audio problem. Illustrative image: Test a new camera in your real space before the return window closes. This is an illustrative image, not a screenshot of your channel or another creator's work. Checklist for Choosing a YouTube CameraCurrent camera tested in your real filming space Format matched to phone, webcam, mirrorless, or action camera Microphone input and external audio planned Lighting planned before any camera upgrade Video features compared, not only photo specifications Total system cost checked, including lenses and batteries Upgrade order set: tripod, audio, lighting, then cameraFrequently Asked Questions Can I start YouTube with just a phone? Yes. A phone with good light, a tripod, and an external microphone produces videos that look and sound professional for most beginner formats. Is 4K necessary for YouTube? No, not for most beginners. Sharp 1080p video with good light and audio is enough, and it is easier to edit and upload. Consider 4K later, if you need to crop or future-proof footage. Should I buy a mirrorless camera as a beginner? Only if you have a clear reason, such as low-light studio work or interchangeable lenses, and a budget for the whole system. Otherwise, start with a phone or webcam and upgrade later. What matters more: camera or lighting? For most beginners, lighting and audio matter more. A modest camera in good light with clear audio beats an expensive camera in a dark, echoey room. Do I need different cameras for vlogging and studio videos? Not necessarily, but it helps. Many creators use a phone or action camera outdoors and a webcam or mirrorless camera indoors, choosing each tool for the job it does best. Start with what you own, improve light and audio first, and choose a camera for your format. When you do upgrade, let a real limitation, not a review, decide the purchase.