Showing Posts From
Upload settings
 CreatorPlaybook Team
- 02 Nov, 2026
YouTube Upload Defaults: Save Time and Avoid Mistakes on Every Upload
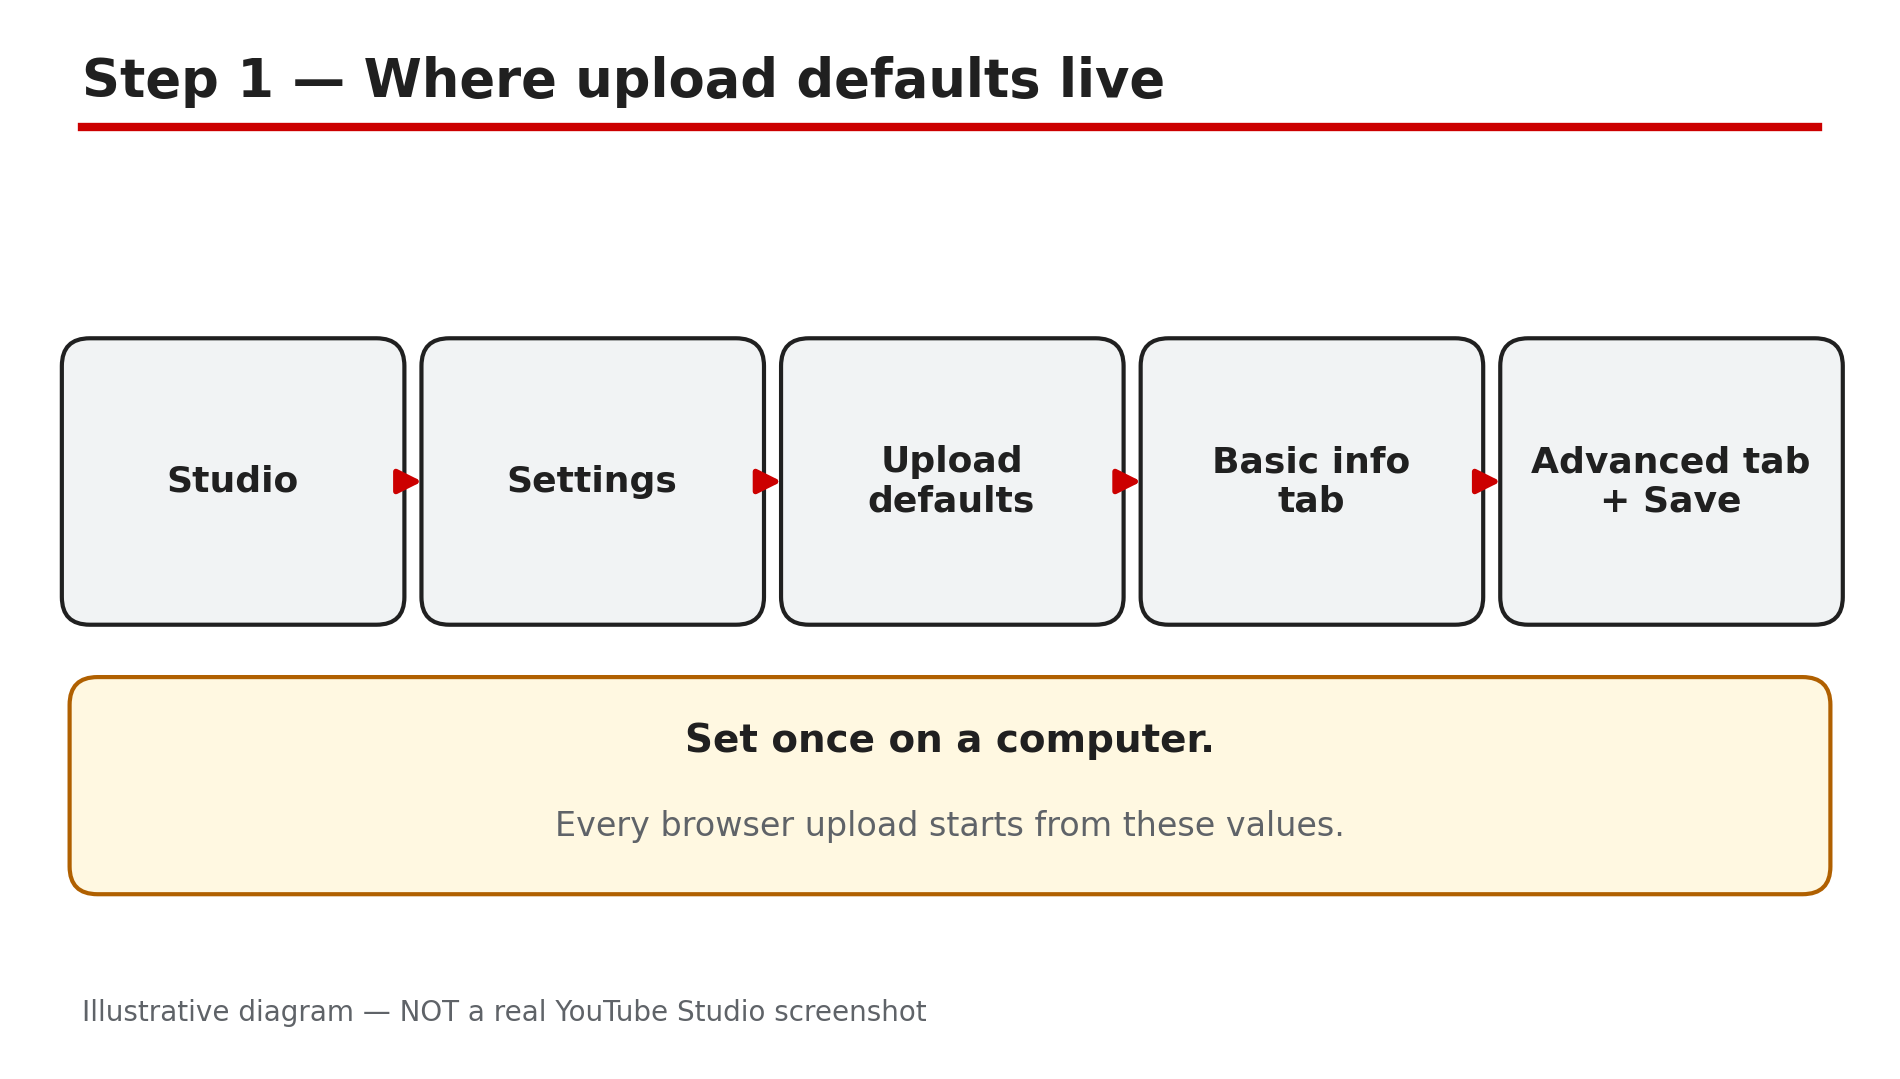
Every upload asks the same questions: title, description, tags, category, language, licence, visibility, comments. Answering them from scratch each time is slow, and a tired answer is how a video goes public before it is ready, or ships with the wrong language and no captions. YouTube has a built-in answer: upload defaults. Set them once in Studio and every browser upload starts with your choices already filled in. But there is a trap that catches many creators: defaults only work on uploads made through the browser. Upload from your phone or a video editor and nothing you set will apply. This guide shows what to set, what to leave alone, and how to avoid the mistakes that make defaults feel broken. What You Will LearnWhat upload defaults are and where to set them The one limit that makes defaults feel broken: browser uploads only Which defaults are worth setting, and which to leave blank How defaults relate to the Made for Kids audience setting Why defaults never fix videos you already uploaded A safe routine that stops unfinished videos going publicStep 1 — Set your upload defaults once, in Studio What to do: Open the upload defaults screen and fill in the choices you want on every video. How: YouTube's Help page "Set default upload settings" gives the route. Sign in to YouTube Studio on a computer. From the left menu, select Settings, then select Upload defaults. You will see two tabs: Basic info and Advanced settings. In Basic info you can set a default title, description, tags and more. In Advanced settings you can set the default licence, category, video language, caption certification, comments, and whether to show the video to subscribers in their feed. Choose your settings and click Save. Example: A creator who always uploads tutorials sets the default category to Education, the default language to English, and a default description with the channel's links. Common mistake: Setting defaults and never clicking Save, or setting them in the Studio mobile app and assuming they stuck. Use a computer and confirm the values are there.Illustrative diagram of where to find upload defaults in YouTube Studio. Step 2 — Learn the one limit: browser uploads only What to do: Understand that defaults apply only to videos uploaded through the browser at youtube.com/upload. How: YouTube's Help page states the limit plainly: "Default upload settings only affect videos uploaded through your browser on youtube.com/upload. If you upload videos through mobile or video editor, they won't respect your default settings." This is the most common reason creators say defaults "don't work". Nothing is broken — the upload simply did not come through the browser. Example: A creator sets a default description with affiliate links, then uploads three Shorts from the phone app and finds no links in any description. Common mistake: Re-setting the defaults again and again, or concluding the feature is broken, instead of changing where you upload from. Upload from the browser.Illustrative diagram showing that upload defaults work only on browser uploads. Step 3 — Choose the defaults that actually help What to do: Set the handful of defaults that save real time, and leave the rest blank. How: Start with the video language. Setting the default language helps YouTube generate automatic captions correctly, and it is the setting most creators forget per video. Next, set the default category that matches most of your videos. Set a default description only for the parts that never change, such as your channel links — never a full description, because a copied description on every video looks like duplicate text. Set the default visibility to Unlisted as a safety net. Example: A tech channel's defaults are: language English, category Science and Technology, visibility Unlisted, and a description ending with the same three links. Common mistake: Putting your full description, tags and title template into the defaults. Every video then ships with identical text. Defaults are a starting point, not a finished upload.Illustrative diagram of the three defaults worth setting on every channel. Step 4 — Keep the audience setting separate What to do: Do not confuse upload defaults with the channel audience setting — they live in different places and do different jobs. How: The audience setting — Made for Kids or not — is set separately. YouTube's upload defaults Help page points to it directly: "Learn how to set your channel's default audience setting". That setting lives in Studio, then Settings, then Channel, then the Advanced settings tab, under Audience. It decides the audience for future and existing videos at channel level, unless you override it per video. Upload defaults do not include the audience choice. Example: A family channel sets upload defaults for language and category, and separately sets the channel audience to Made for Kids. A video for parents is set to "not Made for Kids" on its own upload screen. Common mistake: Assuming a video is correctly marked because the defaults are set. The audience question is asked on every upload screen for a reason — answer it every time.Illustrative diagram separating upload defaults from the audience setting. Step 5 — Remember that defaults never fix old videos What to do: Use defaults for the future only, and fix existing videos one by one. How: Upload defaults apply to videos you upload after you set them. They do not change anything you already uploaded. YouTube's Help page says you can still change settings after you upload a video, on the Videos page — but that is a manual edit per video. If you have fifty old videos with the wrong language, there is no defaults trick that fixes them: open Content, select the videos, use Edit to change the settings in bulk, and save. Example: A creator changes the default language to Hindi, then checks an old video and finds it still says English. The default only helps the next upload. Common mistake: Setting a new default and assuming the whole channel is fixed. Check the result on the next upload, and separately audit the old videos that matter.Illustrative diagram showing that defaults never fix videos already uploaded. Step 6 — Build a safe upload routine around your defaults What to do: Turn defaults into a short routine that stops the two classic accidents: publishing unfinished videos and uploading with the wrong settings. How: First, set the default visibility to Unlisted, as in Step 3, so nothing goes public by accident. Second, upload from the browser whenever you can, so the defaults actually apply. Third, keep a five-point check before you press Publish: title and thumbnail match the video, description has the right links, language is set, audience is set, and the Checks step has run. Fourth, review the defaults themselves once a quarter. Example: A creator uploads from the browser, defaults fill in language, category and links, and changes visibility to Public only after the Checks step is green. Common mistake: Treating defaults as a substitute for checking. Defaults save typing; they do not save thinking. A default from an old niche is worse than no default at all.Illustrative diagram of a safe upload routine built around defaults. Checklist — Before You Publish☐ I set upload defaults in Studio on a computer and clicked Save ☐ I upload from the browser, so my defaults actually apply ☐ My default language is set, so captions generate correctly ☐ My default visibility is Unlisted, as a safety net ☐ My default description has only the parts that never change ☐ I set the audience separately, on every upload ☐ I know defaults do not fix videos I already uploaded ☐ I checked title, description, language, audience and Checks before publishingFAQs 1. Where are YouTube upload defaults? In YouTube Studio on a computer: Settings, then Upload defaults. There are two tabs, Basic info and Advanced settings. Choose your defaults and click Save. The Help page describes this route, and it is the only place to set them. 2. Why are my upload defaults not working? The most common reason is that you uploaded from mobile or a video editor. YouTube's Help page says defaults only affect videos uploaded through the browser at youtube.com/upload. Uploads from the YouTube app or an editing app do not respect them. 3. Do upload defaults change my old videos? No. Defaults apply only to videos you upload after setting them. To fix old videos, open Content in Studio, select the videos, and use Edit to change settings in bulk — or open a single video's Details page. 4. Can I set a default audience in upload defaults? No. The audience setting — Made for Kids or not — is separate. Set it in Studio, then Settings, then Channel, then the Advanced settings tab, under Audience. You can also set it per video on the upload screen, which overrides the channel setting. 5. What is the safest default visibility? Unlisted. With Unlisted as the default, a video can never go public before you have checked it. Change it to Public only after the title, description, language, audience and the Checks step are all confirmed. SourcesYouTube Help — "Set default upload settings" (official page, opened live 2 Nov 2026): https://support.google.com/youtube/answer/2660027?hl=en-GB&ref_topic=9257782 CreatorPlaybook — "YouTube Upload Stuck, Comments Disabled or Made for Kids? How to Fix It": </blog/youtube-upload-stuck-comments-disabled> CreatorPlaybook — "YouTube Video Stuck Uploading or Processing? How to Fix It": </blog/youtube-video-stuck-uploading-or>