Lighting Setup on a Budget for YouTube Videos
 CreatorPlaybook Team
- 25 Oct, 2026

Good lighting makes a small channel look professional long before an expensive camera does. When your face is bright, clear, and free from harsh shadows, viewers stay longer, trust you more, and forgive a modest room or a phone camera. The good news is that you do not need a studio. With window light, one affordable lamp, and a few simple adjustments, you can build a lighting setup on a budget that looks clean in almost any home.
Related guides: Voiceover Tips for Clear Audio, How to Script a YouTube Video, and How to Edit Videos in CapCut for Beginners.
What You Will Learn
- How to use free window light as your main light
- How to build a simple three-point setup on a budget
- How to avoid harsh shadows and mixed colours
- How to light a small room, a desk, and a talking-head video
- How to test your lighting before you record
- How to fix common lighting problems without buying more gear
Step 1: Start With Window Light, Not New Gear
What to do: Use a window as your main light before you spend anything. Soft daylight falling on your face is flattering, even, and free, and it is the fastest way to improve a video that currently looks dark or yellow.
How to do it in simple steps:
- Face the window, with the camera between you and the glass, so light falls on your face.
- Record in the morning or late afternoon, when light is softer than harsh midday sun.
- Close a thin white curtain if the light is too strong or creates hard shadows.
- Move closer to the window if your face looks dark, and farther back if it looks washed out.
Practical example: A creator records with a window behind them and looks like a dark silhouette. Turning the chair around so the window faces them instantly brightens their face, with no purchase at all.
Common mistake to avoid: Recording with a bright window behind you. The camera exposes for the window, not for you, and your face disappears into shadow.
Illustrative image: Soft light in front of you beats a bright light behind you. This is an illustrative image, not a screenshot of your channel or another creator’s work.
Step 2: Add One Affordable Key Light
What to do: Add one main, or key, light at about 45 degrees to your face. This is the light that defines your face, and one good budget light is enough for most talking-head videos.
How to do it in simple steps:
- Place a ring light, desk lamp, or small LED panel slightly above eye level and to one side.
- Angle it toward your face, not directly into the camera lens.
- Keep it about an arm’s length away to start, then adjust for brightness.
- Diffuse it with a white shower curtain, baking paper, or a cheap diffuser if it looks harsh.
Practical example: A creator uses a single ring light on a desk, angled slightly left, and suddenly their eyes are bright and their face has gentle depth instead of flat, grey light from a ceiling bulb.
Common mistake to avoid: Putting the light directly overhead. Overhead light creates dark shadows under your eyes and brow, making you look tired even when you feel energetic.
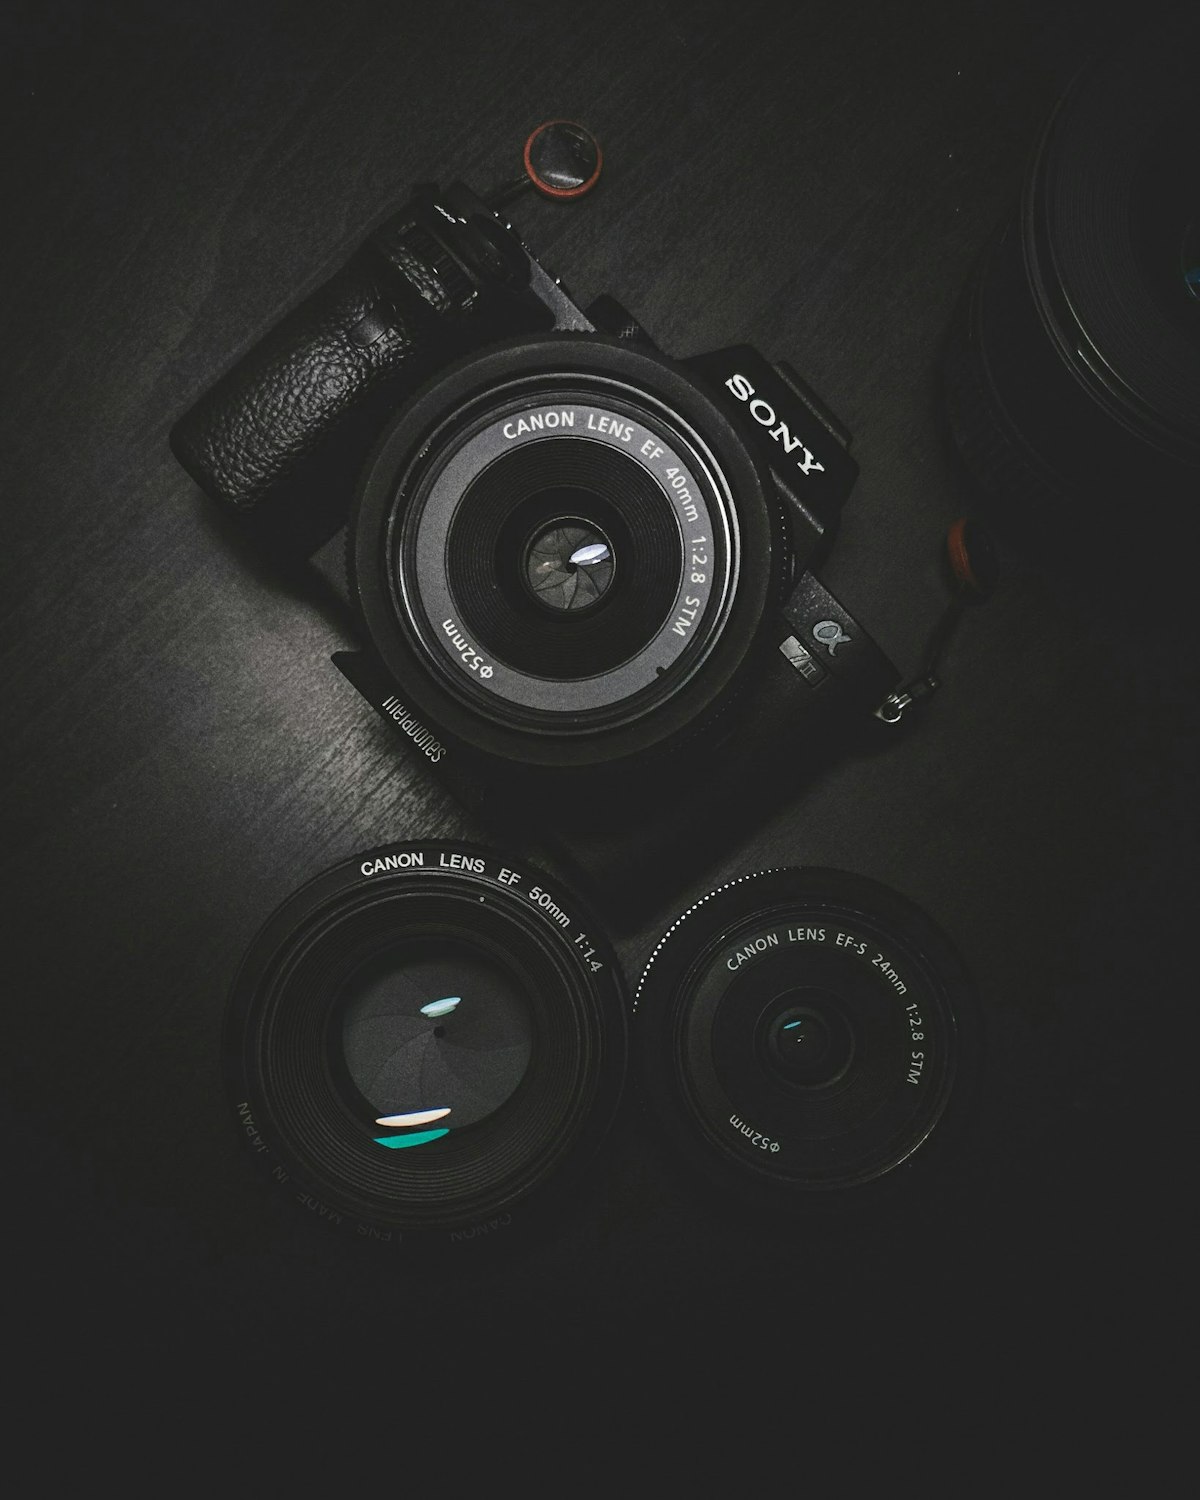 Illustrative image: One key light at an angle gives your face shape and brightness. This is an illustrative image, not a screenshot of your channel or another creator’s work.
Step 3: Fill the Shadows With a Cheap Second Light
What to do: Use a second, softer light on the opposite side to fill shadows. It does not need to match your key light in price; a desk lamp, a phone light, or light bounced off a white wall can work.
How to do it in simple steps:
- Place the fill light on the side opposite your key light, farther away or dimmer.
- Aim for shadows that are soft and visible, not completely removed.
- Bounce light off a white poster board if you have no second lamp.
- Check that the fill light does not create a second harsh shadow on the wall.
Practical example: A creator’s left cheek is bright while the right side is almost black. Adding a small lamp on the right, dimmed by moving it back, balances the face without flattening it completely.
Common mistake to avoid: Making the fill light as bright as the key light. Equal lights on both sides remove all depth and make a face look flat and less natural.
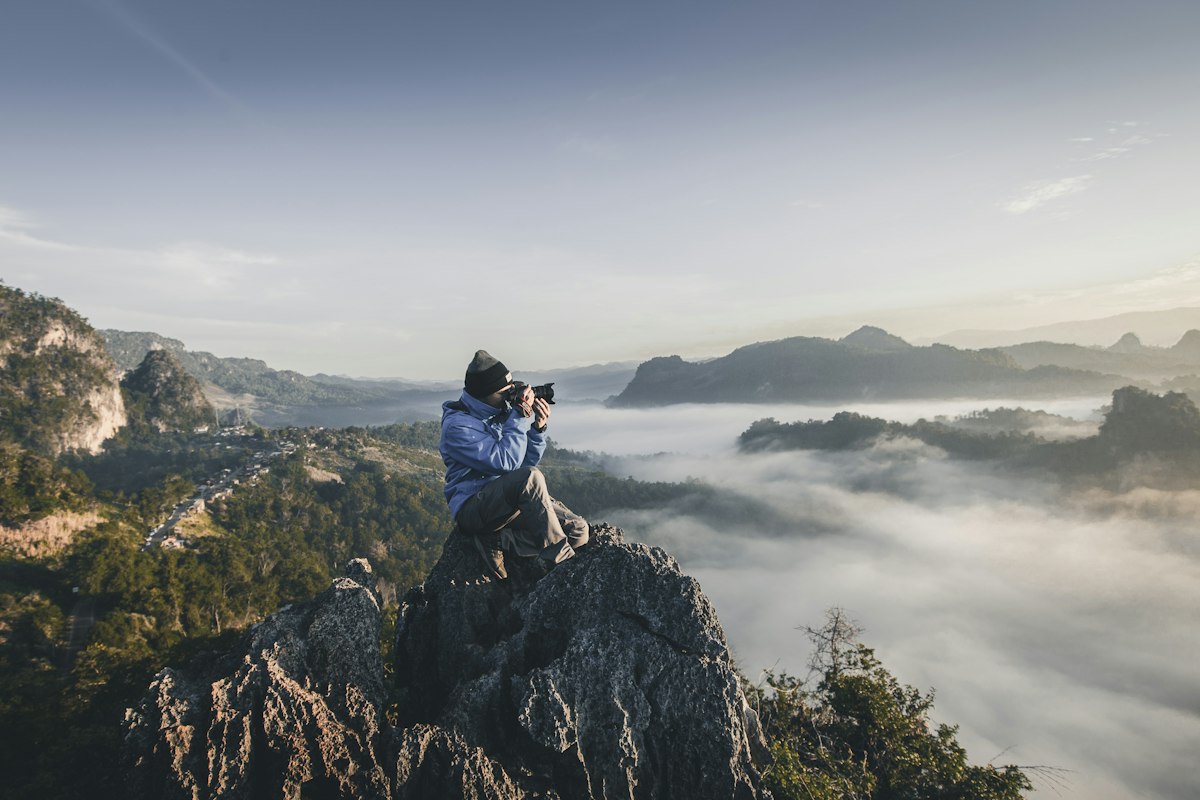 Illustrative image: A gentle fill light softens shadows without flattening your face. This is an illustrative image, not a screenshot of your channel or another creator’s work.
Step 4: Separate Yourself From the Background
What to do: Add a little light behind you, or simply create distance from the background, so you do not blend into the wall. Separation makes the picture look deeper and more professional.
How to do it in simple steps:
- Move your chair at least a metre away from the wall behind you.
- Point a small lamp at the wall or a plant behind you for a soft glow.
- Keep background lights dimmer than the light on your face.
- Remove clutter that catches bright spots and distracts from you.
Practical example: A creator sits against a plain wall and looks pasted onto it. Moving forward and adding a warm lamp behind them creates depth, and the background becomes a pleasant blur rather than a flat backdrop.
Common mistake to avoid: Lighting the background more brightly than your face. Viewers should look at you first, not at a bright poster or lamp behind you.
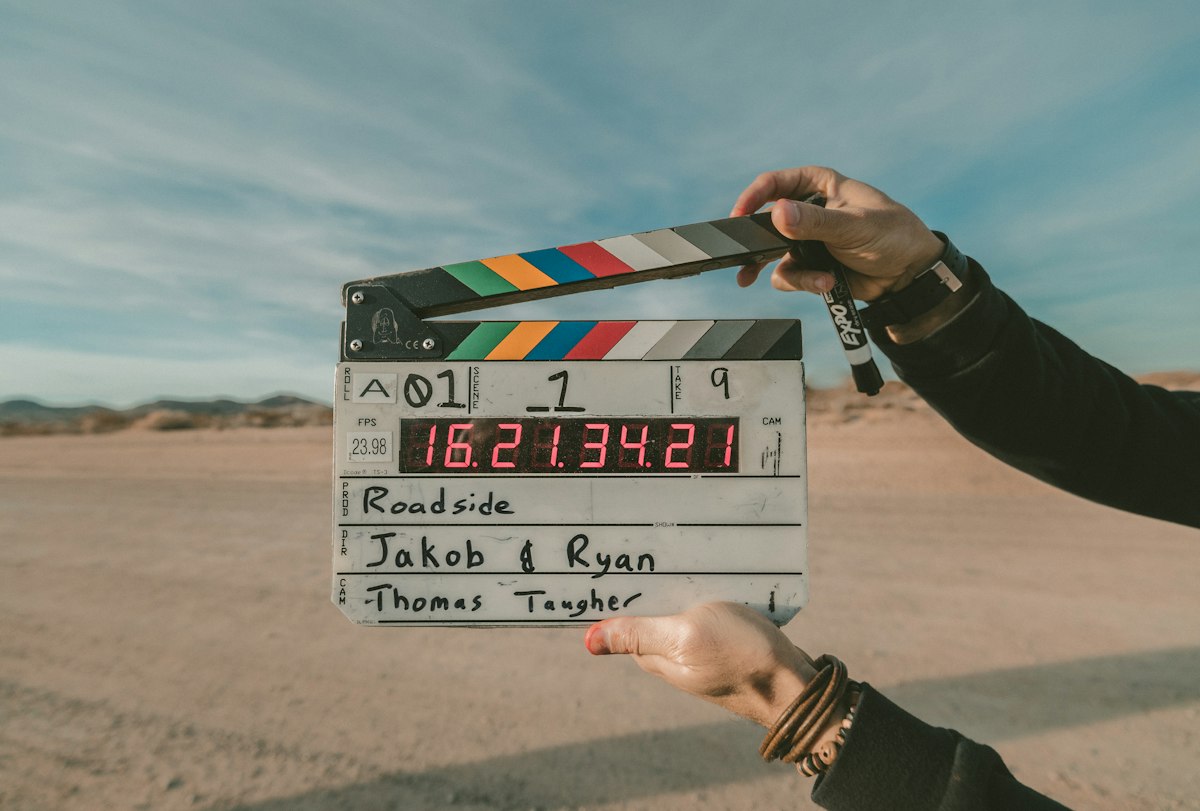 Illustrative image: Distance and a soft background glow give your video depth. This is an illustrative image, not a screenshot of your channel or another creator’s work.
Step 5: Match Colour Temperature and Avoid Mixed Light
What to do: Keep your lights the same colour. Mixing warm household bulbs with cool daylight makes skin look patchy, and it is hard to fix in editing.
How to do it in simple steps:
- Turn off room lights that are a different colour from your main light.
- Set your phone or camera white balance to match the main light, or use auto and test it.
- If you use daylight, use daylight-balanced bulbs for extra lights.
- Record a 20-second test and check your skin tone on a phone screen.
Practical example: A creator records by a window with a warm bedside lamp on. One side of their face looks blue and the other looks orange. Switching the lamp off, or swapping its bulb, gives one clean, natural colour.
Common mistake to avoid: Leaving every light in the room on. More lights are not better when they fight each other; one matched set always looks cleaner.
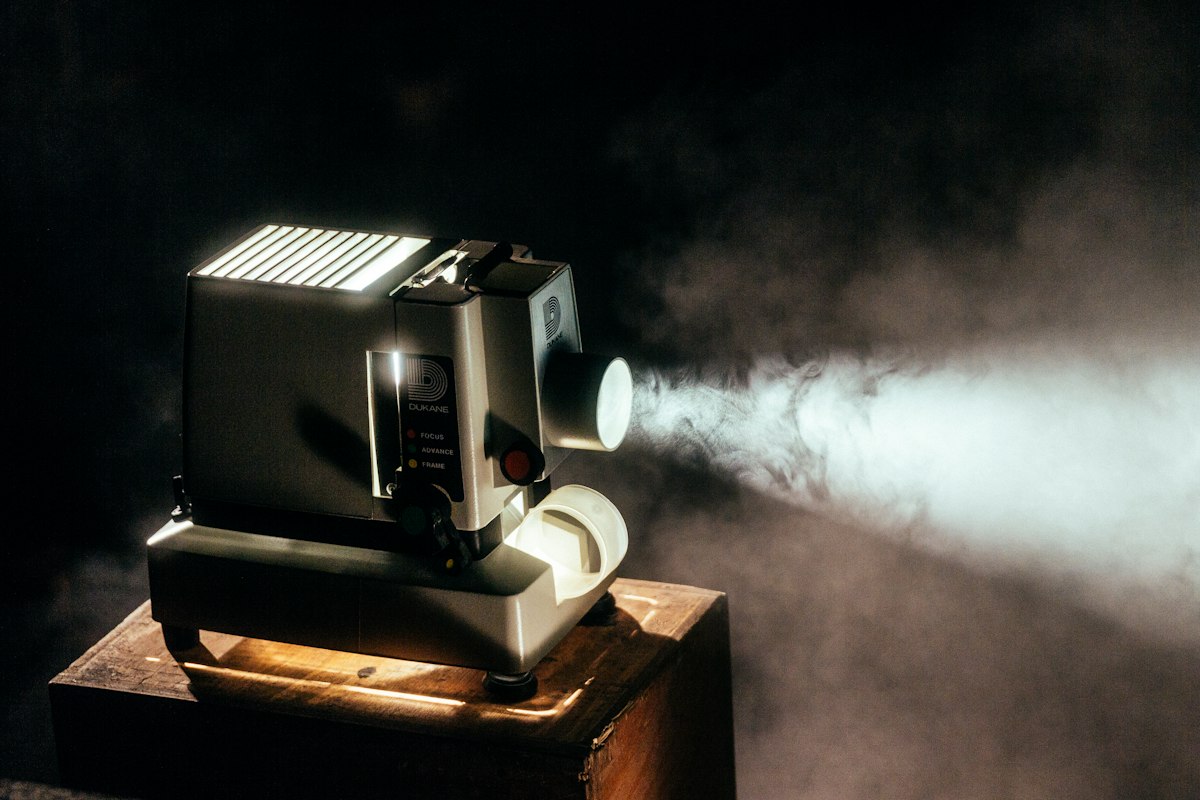 Illustrative image: Matching light colours keeps skin tones natural and clean. This is an illustrative image, not a screenshot of your channel or another creator’s work.
Step 6: Test, Record a Sample, and Lock Your Setup
What to do: Before every recording, test your lighting with a short sample, then keep the same setup for a series. Consistency helps viewers recognise your channel and saves time.
How to do it in simple steps:
- Record 30 seconds in your normal speaking position and watch it back.
- Check your eyes, skin tone, background, and any harsh shadows or bright spots.
- Mark light positions with tape on the floor or a photo on your phone.
- Only change one light at a time when something looks wrong.
Practical example: A creator photographs their lamp positions after a video they love. The next week, they recreate the same look in two minutes instead of spending 30 minutes guessing again.
Common mistake to avoid: Rebuilding your lighting from scratch for every video. A locked setup is not boring; it is reliable, and reliability is what lets you focus on the content.
 Illustrative image: A short test clip saves a whole recording from bad lighting. This is an illustrative image, not a screenshot of your channel or another creator’s work.
Checklist for Budget Lighting
- Main light in front of you, not behind you
- One key light at about 45 degrees, slightly above eye level
- Soft fill light or bounce card to soften shadows
- Distance from the background for depth
- All lights matched in colour temperature
- 30-second test watched before the full recording
Frequently Asked Questions
Do I need a ring light to start? No. Window light works well, and a desk lamp with a diffuser can be your first key light. Buy a ring light only when you record often at night.
Why does my video look yellow? Mixed warm bulbs and wrong white balance are the usual causes. Turn off extra lights, match your bulbs, and test your white balance.
Can I use phone lights? Yes, for fill light or a small subject, but a phone light alone is usually too narrow for a full talking-head shot. Use it to soften shadows, not as your only light.
What is the cheapest useful upgrade? A white poster board for bouncing light, a thin curtain for diffusing window light, and a small LED panel with adjustable brightness are usually the best first buys.
Does lighting matter more than camera quality? Often, yes. Good light makes a phone camera look sharp and clean, while poor light makes even a good camera look noisy and dull.
Start with the light you already have, add one affordable key light, and test before you record. A simple, repeatable setup will make every video you make look more confident and professional.