YouTube Live Streaming for Beginners
 CreatorPlaybook Team
- 25 Oct, 2026
Related guides: How to Grow with the YouTube Community Tab, Collaboration Ideas for Small Creators, and How to Use Playlists to Increase Watch Time.
Live streaming feels different from a recorded video. There is no editing, no second take, and viewers can talk to you in real time. That can feel scary, but it is also why live streams build loyalty: viewers meet the real person behind the channel, ask questions, and feel part of a shared moment.
You do not need expensive equipment or a large audience to start. A simple first stream, with a clear topic, a stable setup, and a plan for talking to chat, can teach you more about your audience than ten recorded videos. This guide walks you through your first live streams step by step.
What You Will Learn
- What makes a live stream different from a recorded video
- How to choose a simple topic for your first stream
- How to set up audio, video, and internet for a stable stream
- How to plan a loose structure so you are not stuck for words
- How to talk to chat, handle trolls, and keep the stream friendly
- How to review a stream and improve the next one
Step 1: Choose a Simple First Stream Topic
What to do: Pick a topic you can talk about for 30 to 45 minutes without slides or complicated demonstrations. A question-and-answer session, a beginner tutorial, or a casual discussion of a topic you know well works better than a complex live project.
How to do it in simple steps:
- List five topics you could discuss comfortably from memory.
- Choose the one viewers ask about most in comments.
- Write a title that states the topic and the benefit, such as “Beginner Photography Questions, Answered Live.”
- Write a short description explaining who the stream is for and what questions you will cover.
Practical example: A cooking creator’s first stream is “Ask Me Anything About Weeknight Dinners.” Viewers bring the questions, the creator answers from experience, and no recipe needs to be cooked live. The stream is useful, interactive, and low-pressure.
Common mistake to avoid: Planning a first stream around a difficult live demonstration, such as building something complex on camera. If the project goes wrong, the stream stalls, and a beginner host has to fix a problem while talking to chat at the same time.
Illustrative image: A simple, familiar topic makes a first stream easier. This is an illustrative image, not a screenshot of your channel or another creator’s work.
Step 2: Set Up Stable Audio, Video, and Internet
What to do: Test your setup before you go live. Good audio matters more than perfect video: viewers will leave a stream with echo or muffled sound faster than one with slightly soft video. A stable internet connection matters more than high resolution.
How to do it in simple steps:
- Use a phone, webcam, or camera that you have already tested for recorded videos.
- Use earphones or a simple microphone to reduce echo.
- Film in a quiet room with light facing you, not behind you.
- Do a short private or unlisted test stream to check sound, picture, and connection.
- Keep a charger plugged in, and close other apps that use internet.
Practical example: A creator tests a 10-minute private stream the day before, discovers the room echoes, and adds a rug and closes a window. The next day’s public stream sounds clear, because the problem was found in testing, not live.
Common mistake to avoid: Going live for the first time with untested equipment, in a noisy room, on a weak connection. Technical problems in the first minutes drive viewers away before they hear what you have to say.
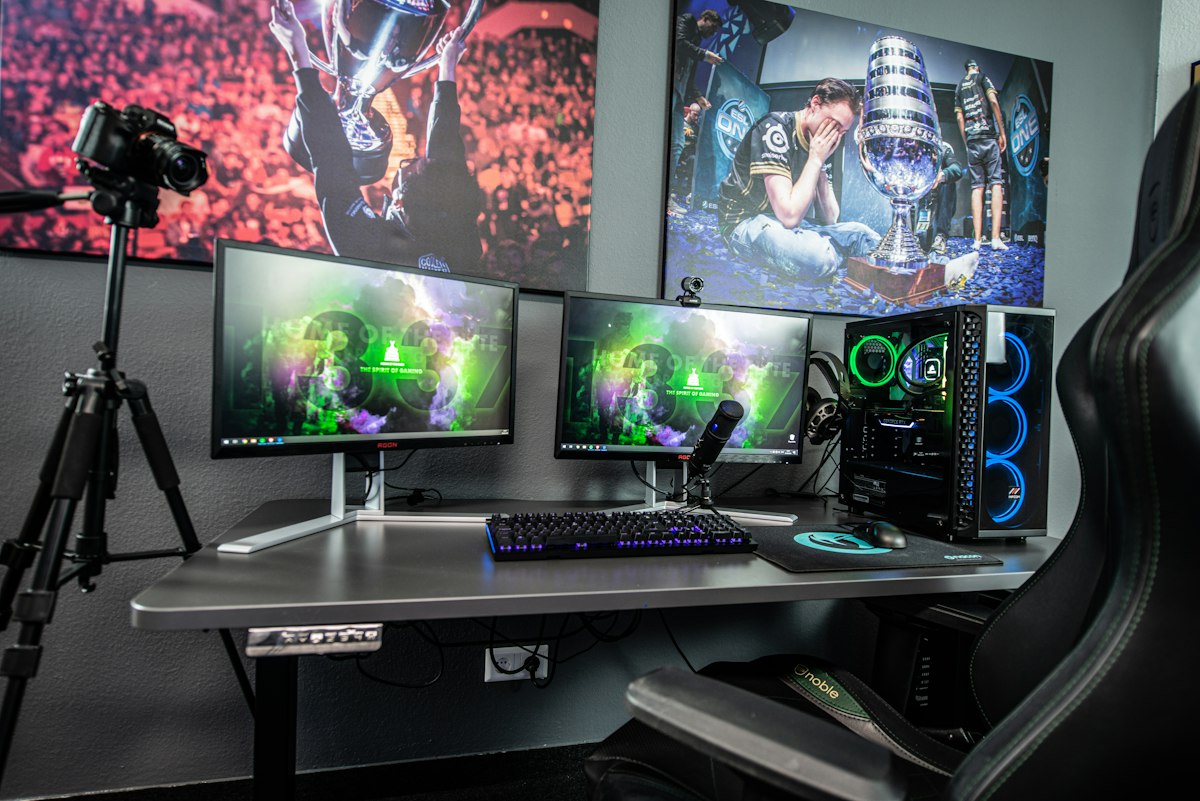 Illustrative image: Test audio and connection before you go live. This is an illustrative image, not a screenshot of your channel or another creator’s work.
Step 3: Plan a Loose Structure, Not a Script
What to do: Write a simple outline: a welcome, three main points or segments, and a closing. A loose structure keeps you talking without sounding scripted, and gives viewers a reason to stay for the next segment.
How to do it in simple steps:
- Write a welcome line: who you are, what the stream is about, and how viewers can ask questions.
- List three segments, each about 10 minutes, such as three common beginner mistakes.
- Write one question for each segment to ask chat, so viewers can join in.
- Write a closing line: what to watch next, and when the next stream will be.
Practical example: A guitar stream runs: welcome and warm-up, three beginner chord tips with chat questions, then a short live practice session. Viewers know what is coming, and the host never has to wonder what to say next.
Common mistake to avoid: Going live with no plan and saying, “So, what should we talk about?” Viewers who join a stream with no direction leave quickly, because they cannot tell whether the stream will be worth their time.
 Illustrative image: A loose outline keeps a live stream moving. This is an illustrative image, not a screenshot of your channel or another creator’s work.
Step 4: Promote the Stream Before It Starts
What to do: Tell viewers in advance, so they can plan to join. A scheduled stream, announced in a video, a Community post, and a short reminder, will usually draw more live viewers than a surprise stream.
How to do it in simple steps:
- Schedule the stream at least a few days ahead, with a clear title and description.
- Mention it at the end of your previous video.
- Post a Community update on the day of the stream, with the time and topic.
- Start on time, even if only a few viewers are present, because late starts lose early joiners.
Practical example: A creator schedules a Saturday morning stream on Wednesday, mentions it in Friday’s video, and posts a reminder Saturday morning. Viewers who would have missed a surprise stream can join, ask questions, and invite friends.
Common mistake to avoid: Going live without any notice and expecting a large audience. Even loyal subscribers need time to notice a notification and join, especially if they are in different time zones.
 Illustrative image: Advance notice helps viewers plan to join live. This is an illustrative image, not a screenshot of your channel or another creator’s work.
Step 5: Talk to Chat and Keep the Stream Friendly
What to do: Read chat regularly, answer questions by name when you can, and set a friendly tone early. Acknowledge viewers, repeat questions aloud for people listening without reading chat, and keep the conversation on topic without being harsh.
How to do it in simple steps:
- Welcome early viewers by name and restate the topic every 10 minutes for newcomers.
- Read a question aloud, answer it, then ask a follow-up question to chat.
- Use moderation tools: hide or block abusive comments calmly, without arguing.
- If chat is quiet, ask a simple question, such as “Where are you watching from?”
Practical example: A host reads, “Priya asks how to practise chords without hurting fingers,” answers with a short practice tip, then asks chat, “How long do you practise each day?” One question becomes a conversation, not just a lecture.
Common mistake to avoid: Ignoring chat for long stretches, or arguing with a troll on camera. Ignored viewers leave, and arguments make other viewers uncomfortable. A calm, brief moderation action keeps the stream friendly for everyone else.
 Illustrative image: Reading chat aloud makes viewers feel included. This is an illustrative image, not a screenshot of your channel or another creator’s work.
Step 6: Review the Stream and Improve the Next One
What to do: After the stream, watch part of the replay, check how many viewers stayed, and note which segments earned the most chat activity. Use one improvement for the next stream, not ten at once.
How to do it in simple steps:
- Watch the first 10 minutes and one middle segment of the replay.
- Note where audio, lighting, or pacing could improve.
- Check live viewer numbers and chat activity over time in Analytics.
- Choose one change for the next stream, such as better audio, a shorter intro, or more chat questions.
Practical example: A creator notices viewers dropped off during a long, quiet demonstration. For the next stream, they shorten demonstrations and add a chat question every few minutes. Retention improves without changing the topic or equipment.
Common mistake to avoid: Judging a first stream only by live viewer numbers. A first stream with ten engaged viewers who ask great questions is a success. The goal is learning and connection, not a record audience on day one.
 Illustrative image: One improvement per stream builds skill steadily. This is an illustrative image, not a screenshot of your channel or another creator’s work.
Checklist for Your First Live Streams
- Simple, familiar topic chosen, with a clear title and description
- Audio, video, and internet tested in a short private stream
- Loose outline written: welcome, three segments, closing
- Stream scheduled and announced in a video and a Community post
- Chat plan ready: welcome viewers, read questions aloud, moderate calmly
- Replay reviewed, with one improvement chosen for the next stream
Frequently Asked Questions
How long should a first live stream be? Thirty to 45 minutes is a good length for a first stream. It is long enough for real conversation, but short enough to stay energetic. Longer streams can come later, once you know your pacing.
Do I need a large audience to go live? No. Small, live audiences are often more engaged than large, passive ones, because everyone can be heard. A stream with a handful of active viewers is a great place to learn.
Can I stream from my phone? Yes, many creators start with a phone, especially for casual question-and-answer streams. Use a stable stand, good light, and earphones, and test the connection before you go live.
What if no one joins? Start on time, talk as if viewers are present, and cover your planned points. Late joiners will find a stream already in progress, and the replay can still be useful for viewers who watch later.
Should I keep the replay public? If the stream went well and the content is still useful, keeping it public can help new viewers. If there were long technical problems or mistakes, you can keep it unlisted, edit a highlight, or remove it, and use what you learned next time.
Live streaming is a skill, not a talent you either have or do not have. Start small, test your setup, plan a loose outline, talk to chat, and improve one thing at a time. Your first stream does not need to be perfect; it needs to be real, helpful, and friendly enough that viewers want to join the next one.