How to Start YouTube with Only a Mobile Phone
 CreatorPlaybook Team
- 25 Oct, 2026
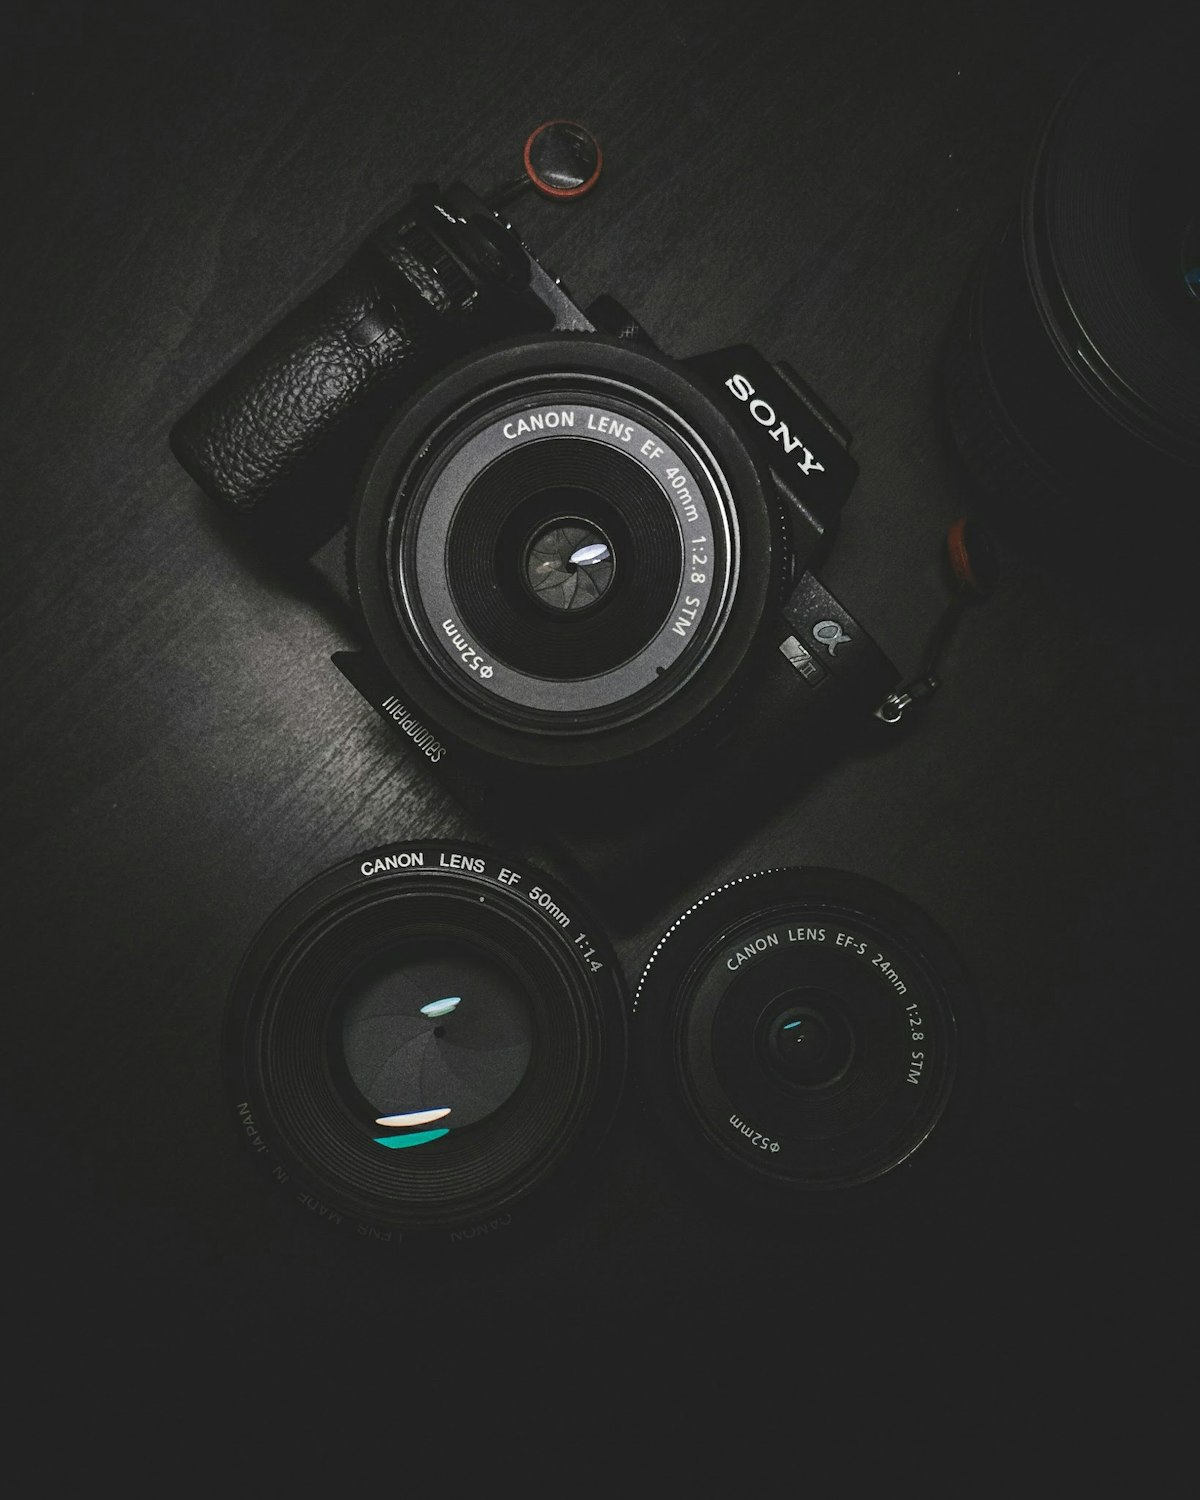
You do not need a camera, a computer, or a studio to start YouTube. A mobile phone can film, edit, upload, and manage a channel, and many successful creators started exactly that way. A phone is not a compromise for beginners; it is a complete, portable studio that fits in a pocket, works in good light, and lets you publish from anywhere. The challenge is not equipment, but learning to use the phone well: stable footage, clear audio, good light, and a simple editing routine.
This guide explains how to start YouTube with only a mobile phone, step by step. It covers choosing a format that suits a phone, filming with stability and light, recording clear audio, editing on the phone, designing thumbnails, and uploading and managing a channel without a computer. You will learn a practical phone-only workflow you can repeat every week, and when, if ever, you might want to add equipment later.
Related guides: Lighting Setup on a Budget for YouTube Videos, Voiceover Tips for Clear Audio, and How to Edit Videos in CapCut for Beginners.
What You Will Learn
- Which formats work best filmed on a phone
- How to film stable, well-lit phone video
- How to record clear audio with a phone
- How to edit a complete video on a phone
- How to design thumbnails and titles on a phone
- How to upload, schedule, and manage a channel by phone
Step 1: Choose a Format That Suits a Phone
What to do: Choose a format where a phone is an advantage, not a limitation: talking-head tutorials, vlogs, demonstrations, screen recordings, cooking from a hands-only angle, or short-form videos. These formats work well with a phone’s camera, portability, and front-facing screen. Avoid formats that need multiple cameras, complex lighting, or heavy post-production at first, because they add difficulty without adding value for a new channel.
How to do it in simple steps:
- List formats you can film with one phone, in one location.
- Choose one format you enjoy and can repeat weekly.
- Test one video in that format, and watch it on a larger screen.
- Ask whether the phone helped, such as portability, or hurt, such as low light.
Practical example: A creator starts a phone-only channel teaching simple recipes, filmed hands-only with the phone on a small tripod above the counter. The phone’s portability and close focus suit the format perfectly, and viewers never notice that no dedicated camera was used.
Common mistake to avoid: Trying to copy a studio channel’s format, with multiple angles and complex sets, using only a phone, and then feeling that phone videos can never look good. Choose a format that plays to the phone’s strengths, and it will look professional.
Illustrative image: Choose a format where a phone is an advantage, not a limitation. This is an illustrative image, not a screenshot of your channel or another creator’s work.
Step 2: Film Stable, Well-Lit Video With Simple Tools
What to do: Film stable, well-lit video using a small tripod or a stack of books, a window for daylight, and the phone’s rear camera where possible. Stability and light matter more than resolution: a shaky, dark video looks amateur even in 4K, while a stable, bright video in 1080p looks professional. Lock exposure and focus on your face or subject, so the phone does not constantly adjust brightness during the video.
How to do it in simple steps:
- Place the phone on a tripod, at eye level for talking-head videos.
- Face a window in daylight, or use a simple lamp in front of you.
- Use the rear camera for the best quality, where you can frame with a mirror or a test clip.
- Lock focus and exposure by tapping and holding on the subject, where your phone allows it.
Practical example: A tutorial creator films facing a window, with the phone on a small tripod, and locks exposure on their face. The video is bright, stable, and sharp, even though the only equipment is a phone and a ten-dollar tripod.
Common mistake to avoid: Holding the phone in your hand for a long tutorial, filming with light behind you, and letting the phone’s auto-exposure flicker. Stability and front light are free or cheap, and they transform phone footage more than any camera upgrade.
 Illustrative image: A tripod and window light transform phone footage. This is an illustrative image, not a screenshot of your channel or another creator’s work.
Step 3: Record Clear Audio, Even With a Phone
What to do: Record clear audio by getting the microphone close, filming in a quiet room, and using a wired lavalier microphone when possible. A phone’s built-in microphone works well at close range in a quiet room, but it picks up room echo and background noise from a distance. A simple wired lavalier, plugged into the phone, keeps your voice close and clear, even when the camera is farther away, and it costs far less than a camera or a computer.
How to do it in simple steps:
- Film in the quietest room available, with doors closed and fans off.
- Keep the phone or lavalier microphone close to your mouth.
- Record a test clip and listen on headphones before filming the full video.
- Speak clearly and at a steady volume, without shouting or whispering.
Practical example: A creator films tutorials with a wired lavalier clipped to their shirt, plugged into the phone. The voice is clear and close, even though the phone sits on a tripod two metres away, and viewers comment on the good audio, not the equipment.
Common mistake to avoid: Filming from across a large, echoey room with only the phone’s built-in microphone, then trying to fix the audio in editing. Distance and echo are hard to fix after recording, but easy to prevent with a close microphone and a quiet room.
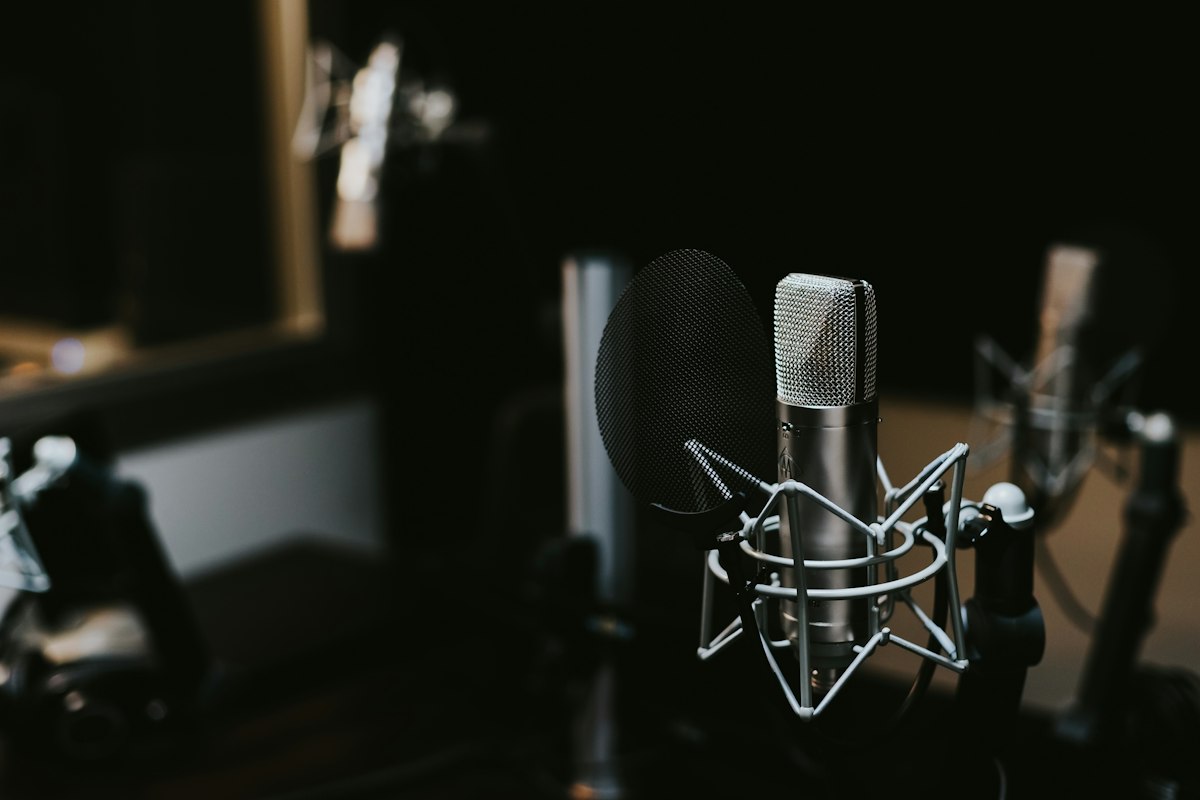 Illustrative image: A close microphone and a quiet room make phone audio clear. This is an illustrative image, not a screenshot of your channel or another creator’s work.
Step 4: Edit a Complete Video on Your Phone
What to do: Edit on your phone with a beginner-friendly app, such as CapCut, and follow a simple routine: cut mistakes and pauses, add text for key points, add music at a low volume, and add a clear opening and ending. Phone editing is powerful enough for most beginner videos, and it has a major advantage: you can edit anywhere, in short sessions, without waiting for a computer. Keep edits simple at first, and add complexity only when a specific video needs it.
How to do it in simple steps:
- Import clips in order, and cut mistakes, long pauses, and repeated takes.
- Add on-screen text for steps, names, or key points.
- Add licensed music at a low volume, under your voice, not over it.
- Export in 1080p, and watch the full video on a larger screen before uploading.
Practical example: A creator edits a 10-minute tutorial on their phone during a commute: cuts, text, and music in one app, exported and uploaded the same day. The video looks polished, and the creator never needed a computer to make it.
Common mistake to avoid: Adding many effects, transitions, and stickers to every clip, because phone apps make them easy. Heavy effects distract from teaching, slow down editing, and make videos look less professional, not more.
 Illustrative image: Cut, add text, and keep phone edits simple and clear. This is an illustrative image, not a screenshot of your channel or another creator’s work.
Step 5: Design Thumbnails and Titles on Your Phone
What to do: Design thumbnails on your phone with a simple design app, using a clear photo from the video, two or three large words, and a consistent colour or layout. Titles should be written on the phone too, using the exact words viewers search for, and checked for clarity on a small screen. A thumbnail that is readable on a phone, where most viewers will see it, is more important than a detailed design that only looks good on a computer.
How to do it in simple steps:
- Take a clear, expressive photo during filming, for the thumbnail.
- Use a simple layout: photo, two or three large words, and one colour accent.
- Check the thumbnail at phone size, not only at full size.
- Write the title in plain language, with the main search phrase near the start.
Practical example: A cooking creator takes a photo of the finished dish during filming, adds the words “15-Minute Dinner” in large text, and uses the same layout for every video. Viewers recognise the channel instantly in a feed, even on a small phone screen.
Common mistake to avoid: Cramming a thumbnail with small text, many images, and a long title that cannot be read on a phone. Simplicity wins in a feed, where viewers decide in seconds whether to click.
 Illustrative image: Design thumbnails that are readable on a phone screen. This is an illustrative image, not a screenshot of your channel or another creator’s work.
Step 6: Upload, Schedule, and Manage Your Channel by Phone
What to do: Upload and manage your channel with the YouTube app and YouTube Studio app, which allow you to upload, add titles, descriptions, tags, and thumbnails, schedule videos, check analytics, and reply to comments. Plan uploads on a schedule you can keep, back up your footage to cloud storage or a computer when possible, and keep your phone charged and with enough storage before filming. A phone-only channel still needs a routine, just as a studio channel does.
How to do it in simple steps:
- Upload from the YouTube app, with a clear title, description, and thumbnail.
- Schedule videos in advance, so publishing day is not a rush.
- Check analytics weekly in the Studio app, and reply to comments.
- Free up storage before filming, and back up finished videos.
Practical example: A creator films on Saturday, edits on Sunday, schedules for Tuesday, and checks comments on Wednesday, all from a phone. The routine is simple, repeatable, and produces one video a week without a computer.
Common mistake to avoid: Running out of storage mid-filming, or uploading with a rushed title and no description, because the phone was low on battery or space. A short pre-filming check prevents most phone-only problems.
 Illustrative image: Upload, schedule, and check analytics from your phone. This is an illustrative image, not a screenshot of your channel or another creator’s work.
Checklist for Starting YouTube With Only a Mobile Phone
- Phone-friendly format chosen and tested
- Small tripod and window light or lamp ready
- Quiet room and close microphone planned
- Phone editing app learned, with a simple routine
- Thumbnail layout that is readable on a phone
- Upload and schedule routine set, with storage checked
- Weekly analytics and comment check planned
Frequently Asked Questions
Is a phone good enough for YouTube in 2026? Yes, for most beginner formats. A phone with good light, a tripod, and clear audio produces videos that look and sound professional, especially for tutorials, vlogs, and Shorts.
Do I need a computer to grow on YouTube? No, not at first. A phone can handle filming, editing, uploading, and analytics. A computer becomes useful later, for longer edits or complex projects, but it is not required to start or grow a small channel.
Which phone editing app should I use? Choose one beginner-friendly app, such as CapCut, and learn it well, rather than switching apps for every video. Consistency in editing saves time and keeps your videos looking like a series.
How do I avoid running out of storage? Film in 1080p unless you need 4K, delete failed takes regularly, and back up finished videos to cloud storage. Check storage before filming, not during it.
When should I upgrade from a phone? When a specific limitation appears repeatedly, such as low-light performance, a need for multiple cameras, or very long edits that are slow on a phone. Upgrade to solve a real problem, not because other creators have more equipment.
Starting YouTube with only a mobile phone is not a limitation to overcome, but a complete way to begin. Film steadily, light well, record clearly, edit simply, and publish consistently, and your phone will carry you much further than waiting for perfect equipment ever will.