YouTube Custom Thumbnail Rejected or Not Showing? How to Fix It
 CreatorPlaybook Team
- 29 Oct, 2026
A thumbnail decides whether a viewer clicks or scrolls past. When YouTube rejects your custom thumbnail, or the new image will not show, the video loses its best chance to be seen. Most problems come from three causes: a file that breaks the size or format rules, an image that breaks a policy, or a delay before the change appears.
Work in order. First, name the problem: rejected, not showing, or blurry. Next, check the file against the official rules. Then fix the image, re-upload it on the same video, and wait. Do not upload the video again, and do not keep re-uploading the same rejected image.
Related reading: How to Make a YouTube Thumbnail That Gets Clicks, which explains what makes viewers click.
What You Will Learn
- How rejected, slow, and blurry thumbnails differ.
- The size, format, and ratio rules your file must meet.
- Which policy problems cause rejections, and how to avoid them.
- How to re-upload a thumbnail on the same video.
- What to check when the new thumbnail will not show.
- A simple habit for thumbnails that stay sharp and clickable.
Step 1: Tell Rejected, Not Showing, and Blurry Apart
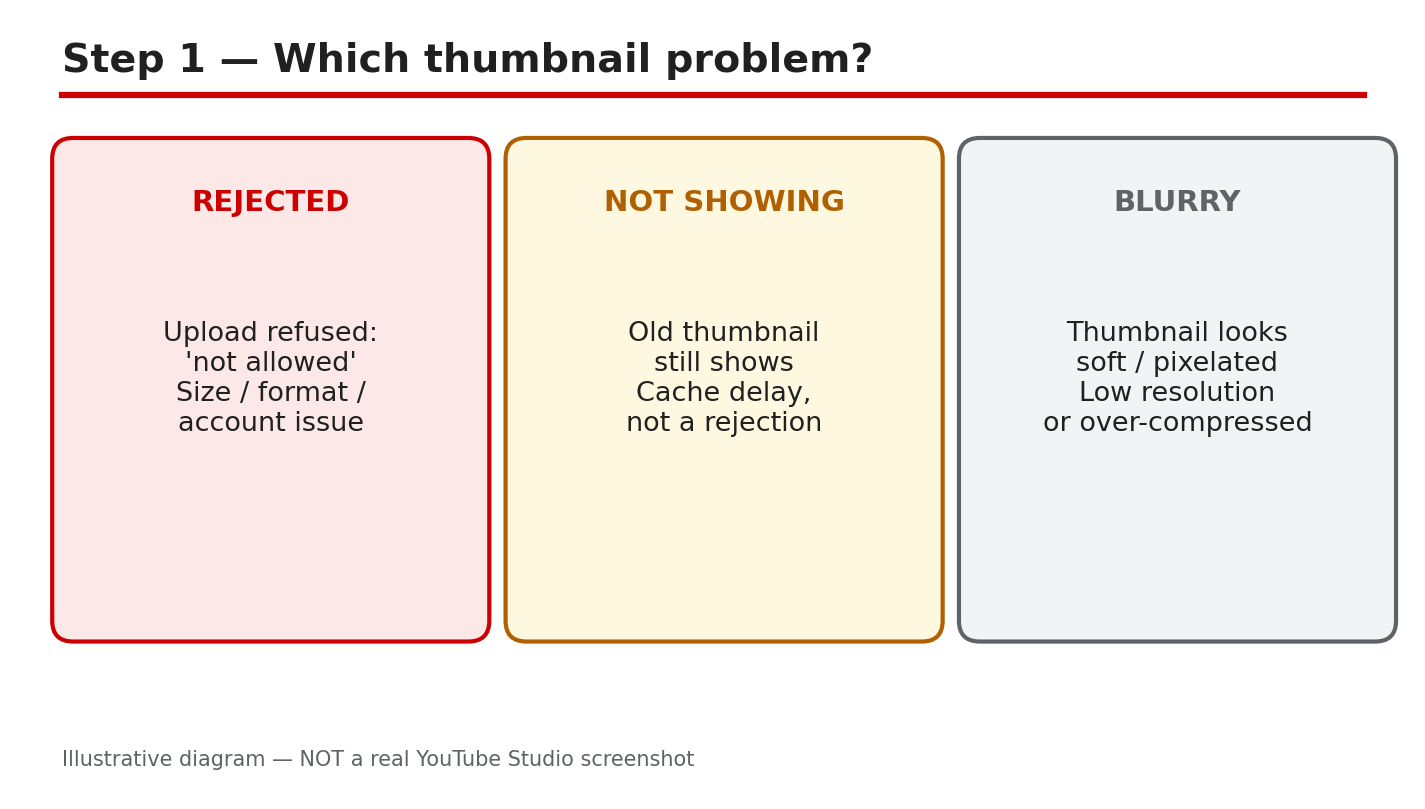
What to do: Rejected means YouTube refused the upload, often with a message about the file or a policy. Not showing means the upload worked, but the old thumbnail still appears while YouTube updates every surface. Blurry means the image is low resolution or over-compressed, so text looks soft on a phone. Name the state first, because each one needs a different fix.
Studio path: YouTube Studio > Content > video > Thumbnail. Look at the current thumbnail and any message shown there.
Example: A creator uploads a new thumbnail and still sees the old one an hour later. The file was accepted, so this is a delay, not a rejection, and an incognito check settles it.
Common mistake: Re-uploading the same rejected file again and again. If YouTube refused it once, the same file will fail again, so check the rules first.
Illustrative diagram/mock-up — NOT a real YouTube Studio screenshot: rejected, not showing, and blurry thumbnails compared.
Step 2: Check the Size, Format, and Verification Rules
What to do: Check the file against the official Help page before you edit anything else. YouTube recommends 3840 by 2160 for videos, and 2160 by 3840 for Shorts, with a minimum width of 640 pixels, in JPG or PNG, at 16:9 for videos. Files must stay under 2 MB on mobile uploads for video thumbnails, while desktop uploads allow up to 50 MB. A 1280 by 720 export meets the minimum width and the 16:9 ratio, and staying under 2 MB is the safest size on every device. Custom thumbnails also need a verified account.
Studio path: YouTube Studio > Content > video > Thumbnail > Upload file > SAVE. Check the account status in Studio before you upload.
Example: A creator exports at 1280 by 720, under 2 MB, from a verified account. The thumbnail is accepted at once, because the file already meets the rules.
Common mistake: Exporting a huge file, then shrinking it at very low quality. Heavy compression makes text soft, so export at the right size with readable text.
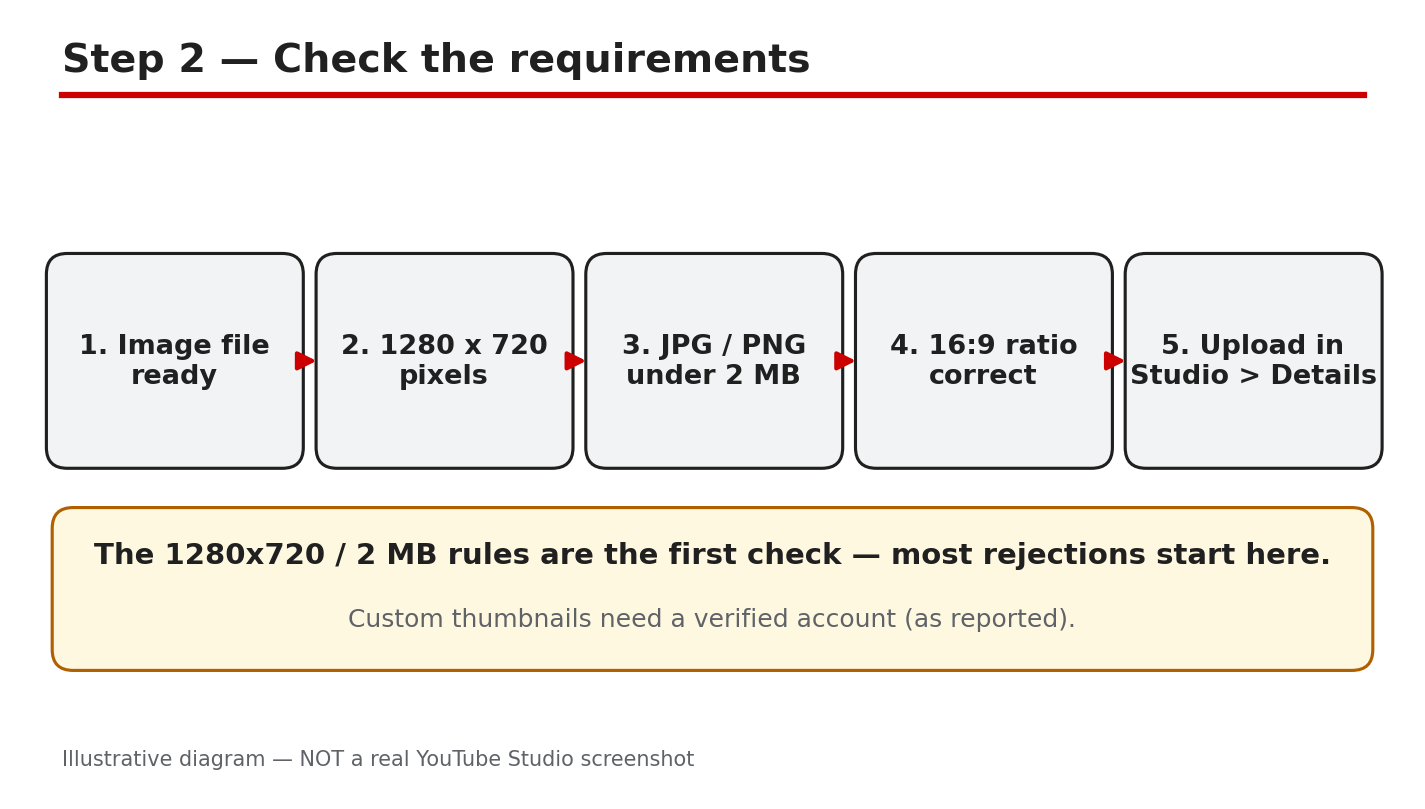
Illustrative diagram/mock-up — NOT a real YouTube Studio screenshot: thumbnail size, format, ratio, and verification checks.
Official YouTube video: How to Add Custom Thumbnails to Your YouTube Videos (YouTube Creators). Watch it for the Studio steps.
Step 3: Fix Policy Rejections Before You Re-Upload
What to do: A policy rejection means the image itself breaks a rule, not the file size. Misleading thumbnails promise something the video does not show, and YouTube treats that as deceptive. Graphic or sexual imagery, hate speech, violence, and harmful or dangerous content can also lead to rejection, and repeat offenses can remove custom-thumbnail privileges for 30 days or end the account. Keep text to three to five big words, readable on a phone, and show only what the video truly delivers.
Studio path: YouTube Studio > Content > video > Thumbnail. Read any policy message, fix the image, then use Upload file > SAVE.
Example: A creator uses a shocked face and a promise the video never keeps. Viewers feel tricked, and the thumbnail is rejected. A calmer image that matches the video is accepted.
Common mistake: Adding more text and brighter arrows to a rejected thumbnail. Clutter is harder to read on a phone and does not fix the policy problem.
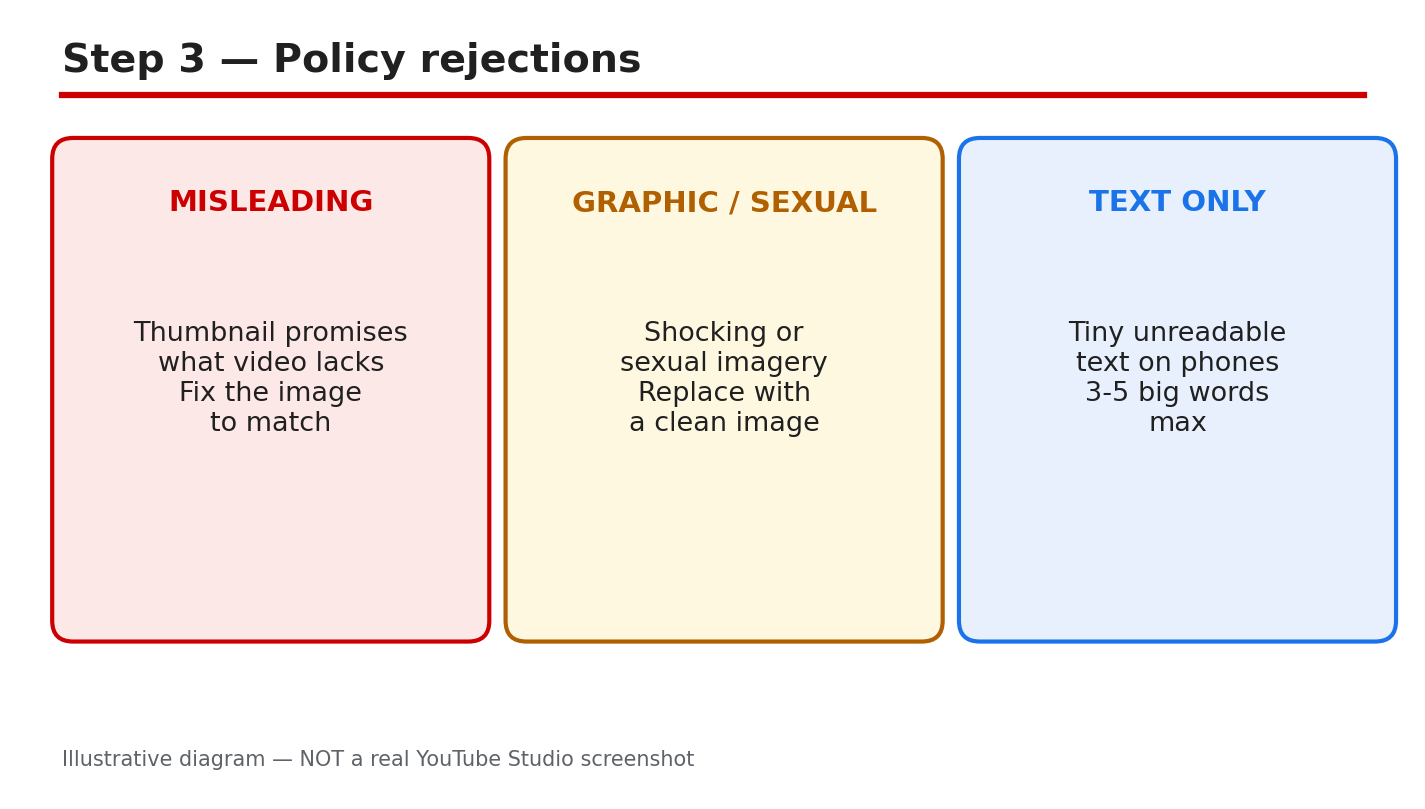
Illustrative diagram/mock-up — NOT a real YouTube Studio screenshot: misleading, graphic, and unreadable thumbnail problems.
Step 4: Check the Image Before You Re-Upload It
What to do: Run four checks before the next upload. First, confirm the size, ratio, and format match the official rules. Second, confirm the image matches the video, with no promise the video cannot keep. Third, shrink the image to phone size and read every word. Fourth, confirm the account is verified. Fix one problem at a time, export once, and upload on the same video.
Studio path: YouTube Studio > Content > video > Thumbnail > Upload file. Keep the same video open, and click SAVE after the new file loads.
Example: A creator checks the file at phone size, finds the title unreadable, and shortens it to four big words. The new thumbnail stays clear on small screens.
Common mistake: Re-uploading on a duplicate video instead of the original. The new video splits views and comments, while the original keeps the old thumbnail.
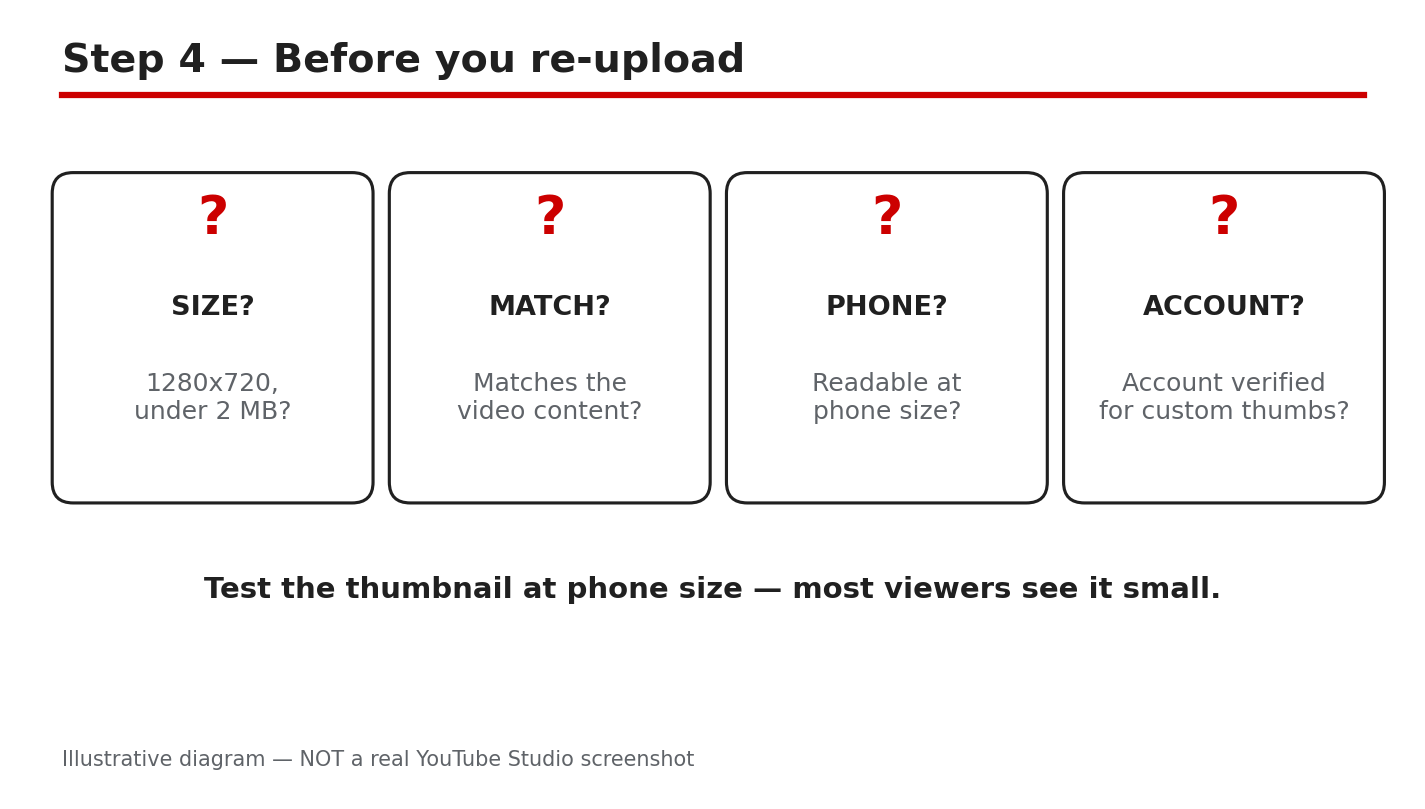
Illustrative diagram/mock-up — NOT a real YouTube Studio screenshot: the four checks before re-uploading a thumbnail.
Step 5: If the New Thumbnail Still Will Not Show
What to do: Wait for the cache first. YouTube says it may take time for thumbnail changes to appear, so check the video in an incognito tab, where the old image is less likely to be stored. If the old thumbnail still shows after a reasonable wait, replace it again on the same video and save. As a temporary step, use an auto frame, so the video does not keep a broken image while you fix the custom file.
Studio path: YouTube Studio > Content > video > Thumbnail > Upload file > SAVE. Then open the video in an incognito tab to check.
Example: A creator replaces the thumbnail, saves, and still sees the old image. In an incognito tab the new image shows, which proves the change worked and the old view was cached.
Common mistake: Deleting the video and uploading it again to force the change. A new upload loses views, comments, and watch time, and the same delay can happen again.
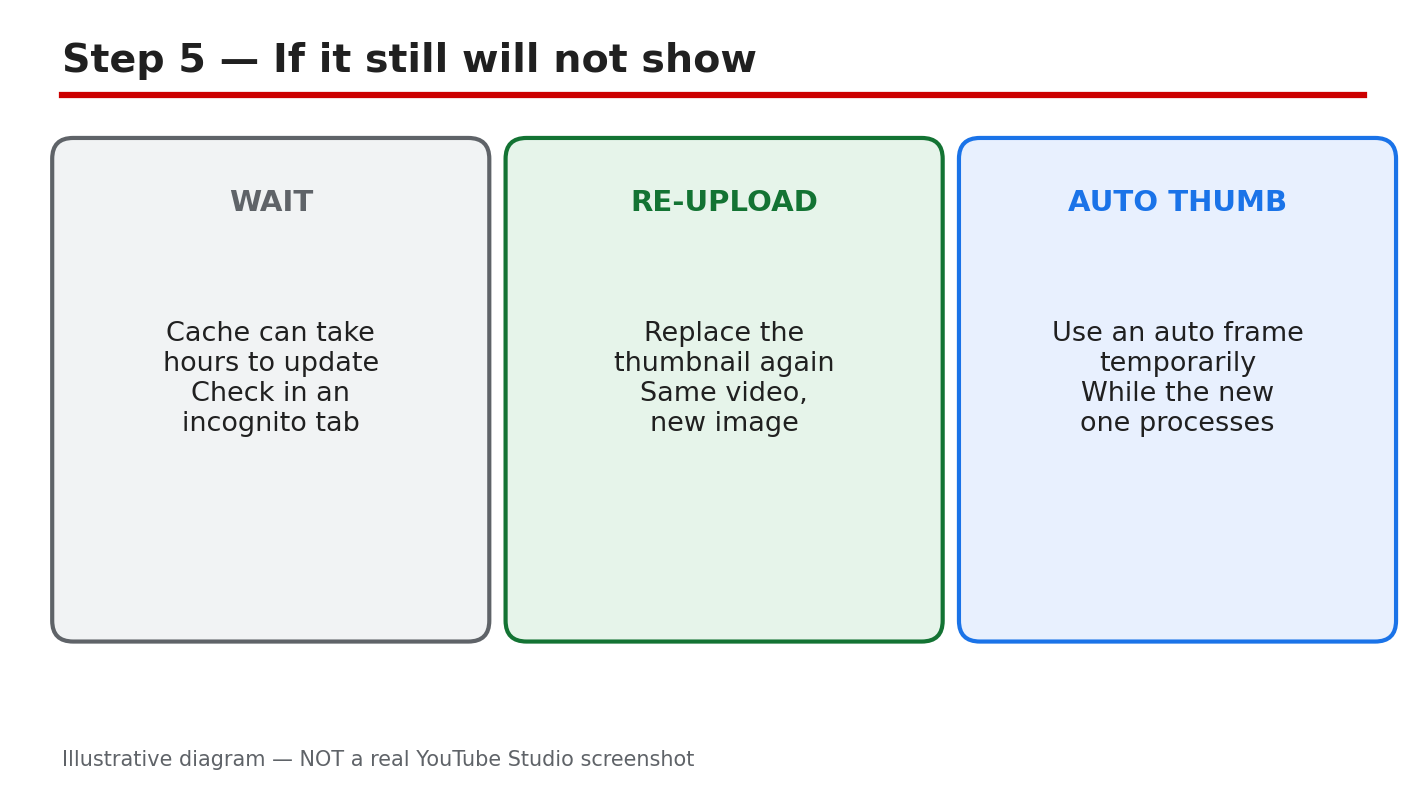
Illustrative diagram/mock-up — NOT a real YouTube Studio screenshot: cache check, replace, and temporary auto frame.
Step 6: Build a Thumbnail Habit and Track Clicks
What to do: Use one repeatable habit. Make the thumbnail from a real frame that matches the video, add three to five big words, and check it at phone size before you upload. Keep one style for colors and text, so returning viewers spot your videos at once. After publishing, watch the click-through rate in Studio Analytics, and change only the thumbnail when a video underperforms.
Studio path: YouTube Studio > Analytics > Content. Compare the click-through rate before and after a thumbnail change.
Example: A creator keeps the same colors, tests one new thumbnail on an older video, and watches clicks rise over a week. The single change is easy to read.
Common mistake: Changing the title, thumbnail, and description all at once. When clicks rise, you cannot tell which change caused it, so change one thing at a time.
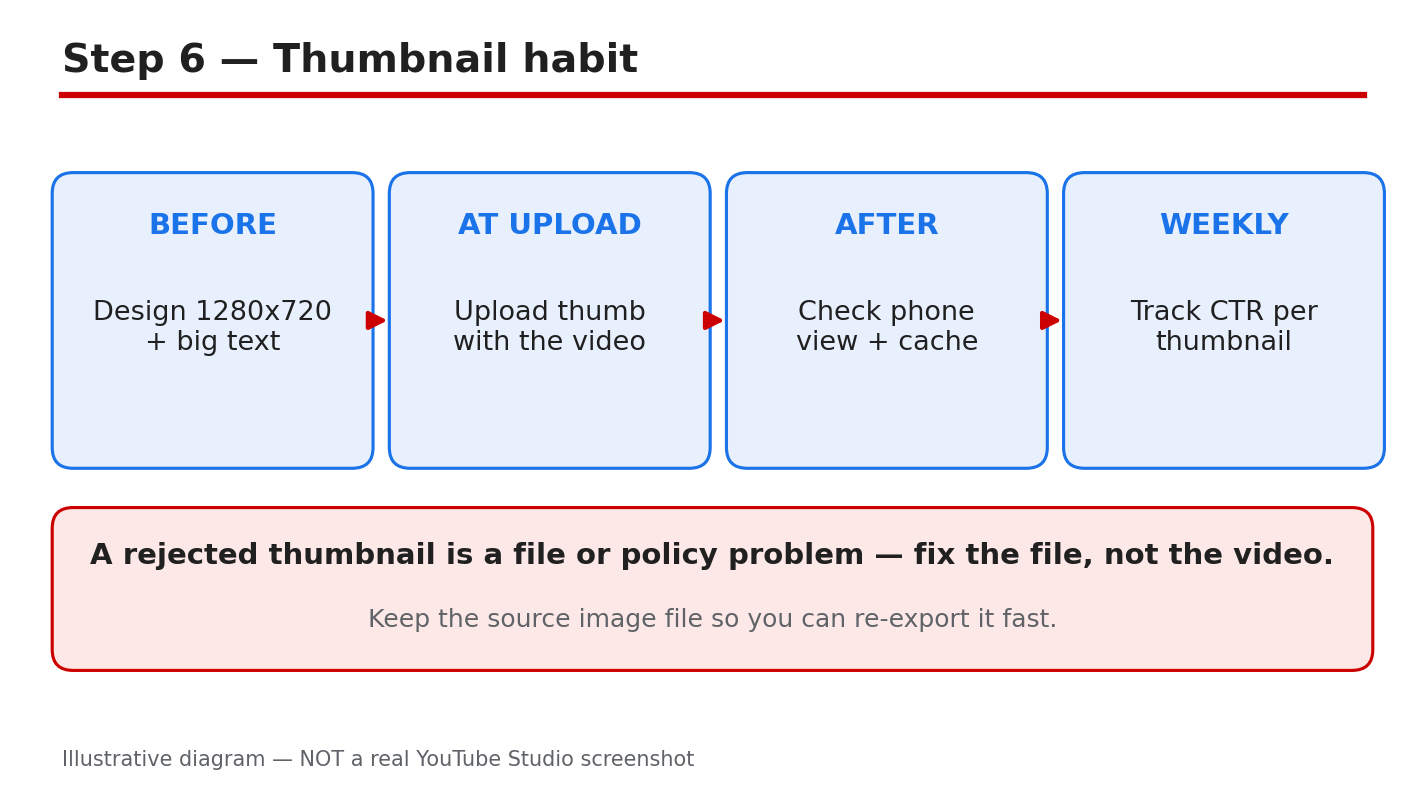
Illustrative diagram/mock-up — NOT a real YouTube Studio screenshot: a repeatable thumbnail habit and click tracking.
Checklist
- Problem named: rejected, not showing, or blurry.
- File checked: size, format, ratio, verification.
- Image matches the video, no misleading promise.
- Text readable at phone size, three to five words.
- Re-uploaded on the same video, then saved.
- Checked in an incognito tab after waiting.
- Click-through rate watched after the change.
Frequently Asked Questions
Why was my custom thumbnail rejected?
Usually the file breaks a size or format rule, the account is not verified, or the image breaks a policy. Check the rules, fix the file or the image, and upload again on the same video.
How long does a new thumbnail take to show?
It can take time for the change to appear everywhere, so wait, then check in an incognito tab. If the old image still shows, replace the thumbnail again and save.
What size should my thumbnail be?
YouTube recommends 3840 by 2160 for videos and 2160 by 3840 for Shorts, minimum width 640 pixels, JPG or PNG, 16:9 for videos. A 1280 by 720 export under 2 MB meets the practical rules.
Can I use any image as a thumbnail?
No. The image must follow the Community Guidelines, match the video, and avoid misleading promises and graphic, hateful, violent, or harmful content. A rejected image must be changed, not re-uploaded as it is.
Should I delete the video if the thumbnail will not change?
No. Deleting loses views, comments, and watch time. Wait for the cache, check in an incognito tab, replace the thumbnail on the same video, or use an auto frame meanwhile.
Fix the file, match the image to the video, and give the change time.
Sources — Check It Yourself
Official page opened and verified live on 29 October 2026. Check the current wording before acting.