YouTube Strike Appeal: How to Appeal a Community Guidelines Strike the Right Way
 CreatorPlaybook Team
- 29 Oct, 2026
A strike notice can stop your week in its tracks. One email says a video broke a rule, uploads pause, and you are left guessing what went wrong. This guide slows that moment down. You will learn how to tell a warning, a strike, and a Content ID claim apart, find the exact rule YouTube named, write a clear appeal, and protect your record while you wait.
For wider channel protection, read How to Protect Your Channel from Strikes, Copyright and Reused Content first. It explains safe music, licences, and reused content. This post focuses only on one job: appealing a Community Guidelines strike correctly, with evidence, and only once, against the rule actually named.
What You Will Learn
- Warning, strike, and Content ID claim: what each one means.
- Where to find the appeal button and the rule named.
- The three-strike timings, as reported, and how to confirm them.
- What evidence makes an appeal clear, and what makes it vague.
- What to do, and not do, while YouTube reviews your appeal.
- A clean-record plan for the 90 days after a strike.
Step 1: Tell a Warning, a Strike, and a Claim Apart
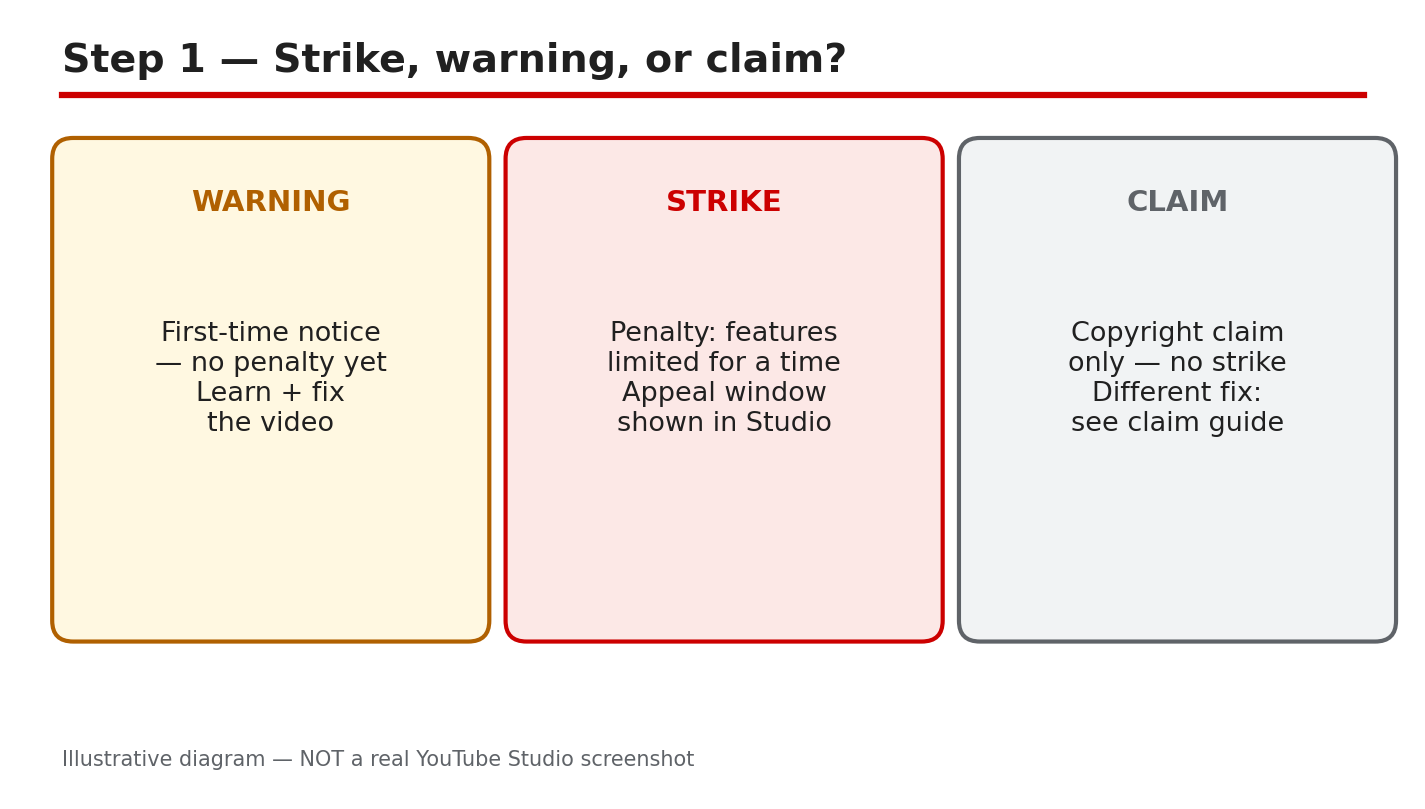
What to do: Do not treat every notice as a strike. A warning is a first notice with no penalty yet, and it usually asks you to learn the policy. A Community Guidelines strike is a penalty that limits features and stays on your record. A Content ID claim is about copyright only: a rights holder may claim revenue or block a video, but it is not a strike and needs a different fix.
Studio path: YouTube Studio > Content > Restrictions. Read the label on each video before you act.
Example: A creator gets a warning for a misleading thumbnail, fixes the thumbnail, and keeps uploading. The same creator later gets a strike for a different video, and uploads pause. The response must match the label, not the fear.
Common mistake: Appealing a Content ID claim as if it were a strike, or ignoring a strike because a claim once caused no harm. Use the fix that matches the notice you actually received.
Illustrative diagram/mock-up, NOT a real YouTube Studio screenshot: warning, strike, and claim compared.
Step 2: Find the Strike, Read the Rule, and Appeal in Studio
What to do: Open the strike notice and read it slowly, word by word. Note the video, the date, the policy named, and the appeal option Studio shows. Appeal against that rule only. If Studio shows a deadline or window for your case, follow that window and do not guess a different one.
Studio path: YouTube Studio > Content > Restrictions > click the strike > read the policy named > Appeal or Submit appeal, as shown for your case.
Example: Studio names harassment for a video that mocked one person by name. The appeal quotes that rule, explains the context, and says what was edited. It does not argue about a different policy.
Common mistake: Writing a general appeal that says the video was fair, without naming the rule. Reviewers need the rule, the facts, and the change, in that order.
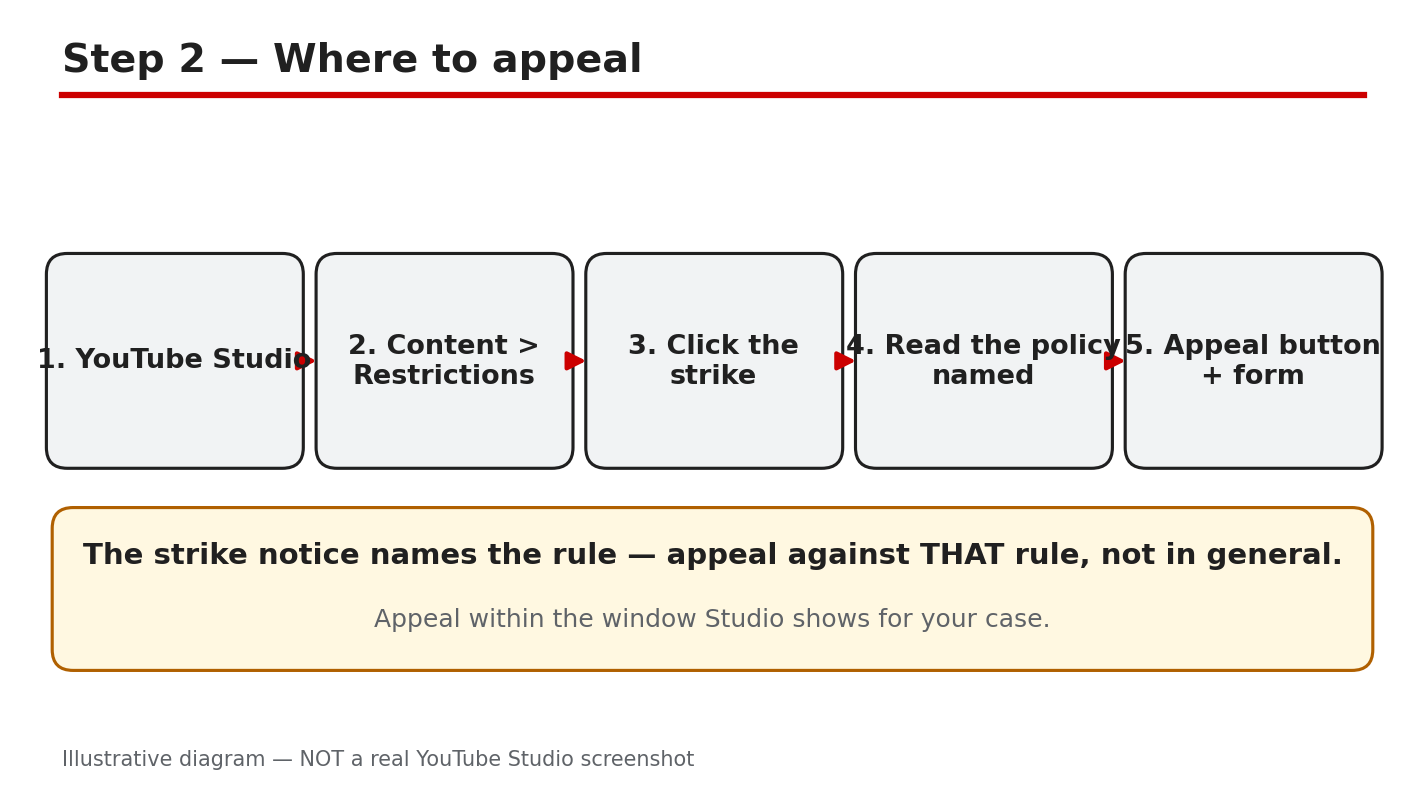
Illustrative diagram/mock-up, NOT a real YouTube Studio screenshot: where to find the appeal in Studio.
Step 3: Three Strikes, Plainly: What Is Reported, and How to Confirm It
What to do: Learn the reported pattern, then confirm it in your own notice. As reported in YouTube Help, a warning comes first. The first strike brings a one-week pause on uploads and related features. A second strike within 90 days brings a two-week pause. Three strikes within 90 days may lead to channel termination. Each strike expires after 90 days, as reported. Do not treat these timings as a promise for your case: check your Studio notice and the official Help page.
Studio path: YouTube Studio > Content > Restrictions > click the strike > read the penalty, dates, and expiry shown for your case.
Example: A creator receives a first strike on 2 May, as reported in the notice, and cannot upload for one week. The strike still counts until its expiry date, even after uploads return. Planning around the return date alone would miss the risk.
Common mistake: Assuming a strike is gone because uploads are back, or assuming three strikes always mean the same outcome. Read the dates in your notice, and confirm the current wording in Help.
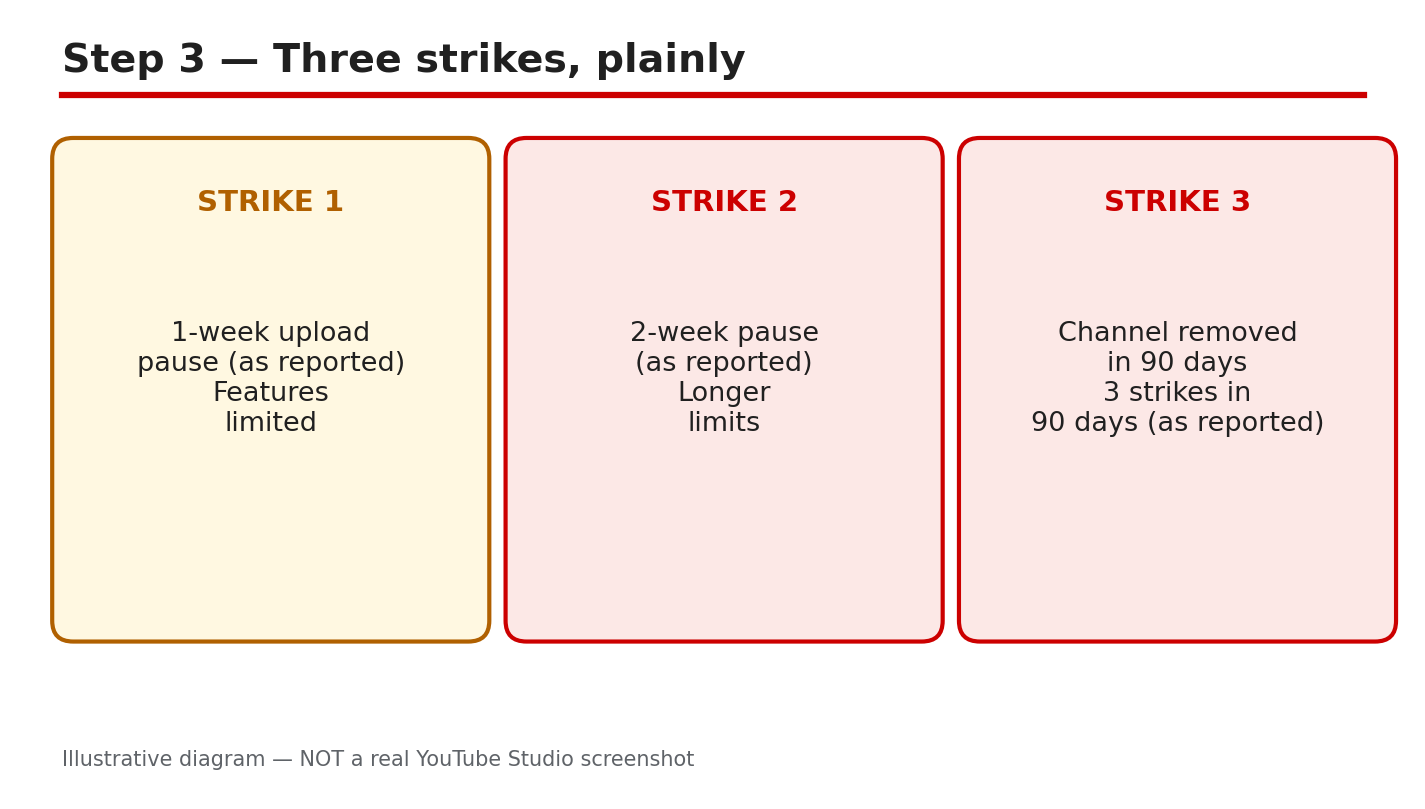
Illustrative diagram/mock-up, NOT a real YouTube Studio screenshot: the three-strike pattern as reported.
Step 4: Build Appeal Evidence That Answers the Rule
What to do: Build a short, factual appeal. Quote the exact rule back in your own words, explain what the video actually shows, state any edit you made, and attach licence or context evidence. Keep the tone calm and specific. Vague appeals fail because a reviewer cannot see what changed, what was licensed, or why the decision was wrong for this video.
Studio path: YouTube Studio > Content > Restrictions > strike > Appeal. Paste your evidence text in the appeal form, and add any file or link Studio asks for.
Example: A tutorial used a licensed music track. The appeal names the track, gives the licence date and library, and links the licence. The reviewer can check one fact, instead of reading a long defence.
Common mistake: Saying the video took hours to make, or that other channels do the same thing. Effort and comparison are not evidence about the rule named.
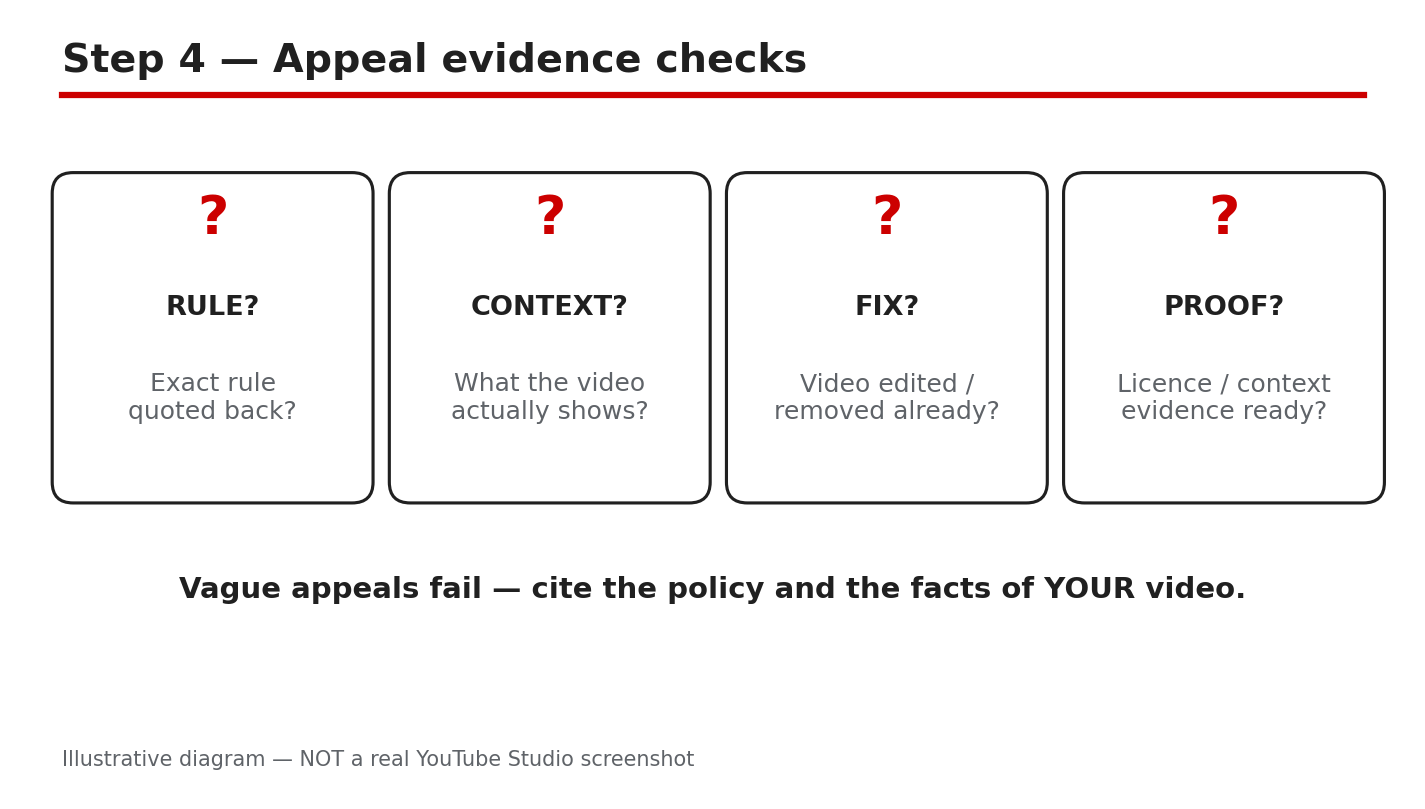
Illustrative diagram/mock-up, NOT a real YouTube Studio screenshot: appeal evidence checks before submitting.
Step 5: While You Wait: Do Not Re-upload, and Keep Records
What to do: Wait for the decision without creating a second problem. Do not re-upload the same video, do not use another channel to bypass the pause, and do not delete the video to hide the strike, because deleting does not remove it. Review similar videos, fix the same risk, and check your email and Studio for the result.
Studio path: YouTube Studio > Content > Restrictions, and your email inbox. Check both for the appeal result, and note the date you received it.
Example: A creator waits two days, as reported for many reviews, and receives an email saying the strike stays. The creator then edits similar videos before uploading again, instead of appealing the same strike a second time.
Common mistake: Sending repeated appeals, or re-uploading the video with a new title. YouTube Help says you may appeal each strike only once, and a re-upload can create a new problem.
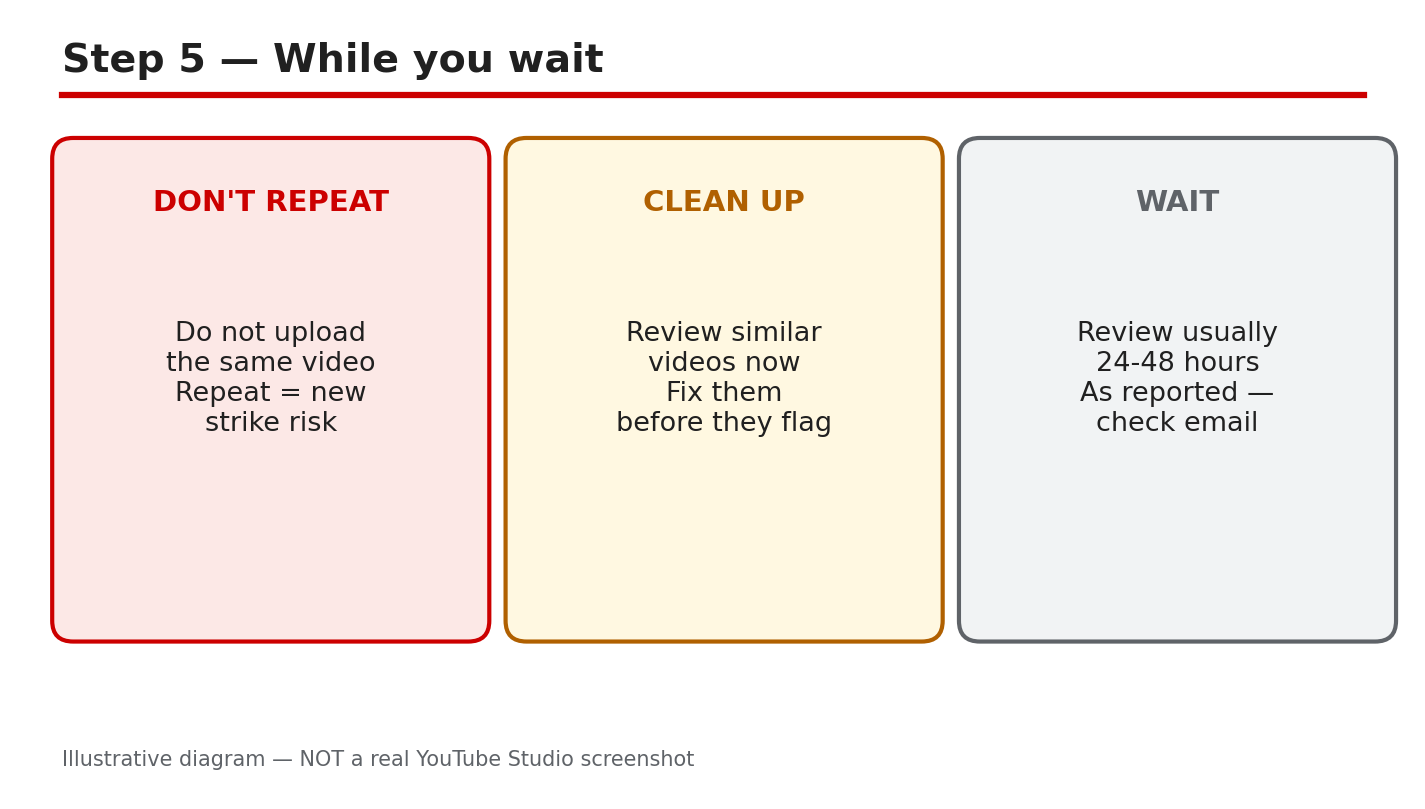
Illustrative diagram/mock-up, NOT a real YouTube Studio screenshot: what to do while you wait.
Step 6: Plan the Next 90 Days and Keep a Clean Record
What to do: Use the pause as a planning period. List every video with a similar risk, check titles, thumbnails, clips, and music, and fix them before the pause ends. Write a short rule for yourself for each topic you cover, and check new uploads against that rule before publishing.
Studio path: YouTube Studio > Content > Restrictions to track expiry, and Content to review similar videos one by one.
Example: A creator lists five videos with the same risky clip, replaces the clip in each one, and writes a note: no clip without a licence on file. Future uploads follow that note, and no second strike follows in the 90-day window.
Common mistake: Returning to the same habits the day uploads return. A clean record needs a changed checklist, not only a quiet week.
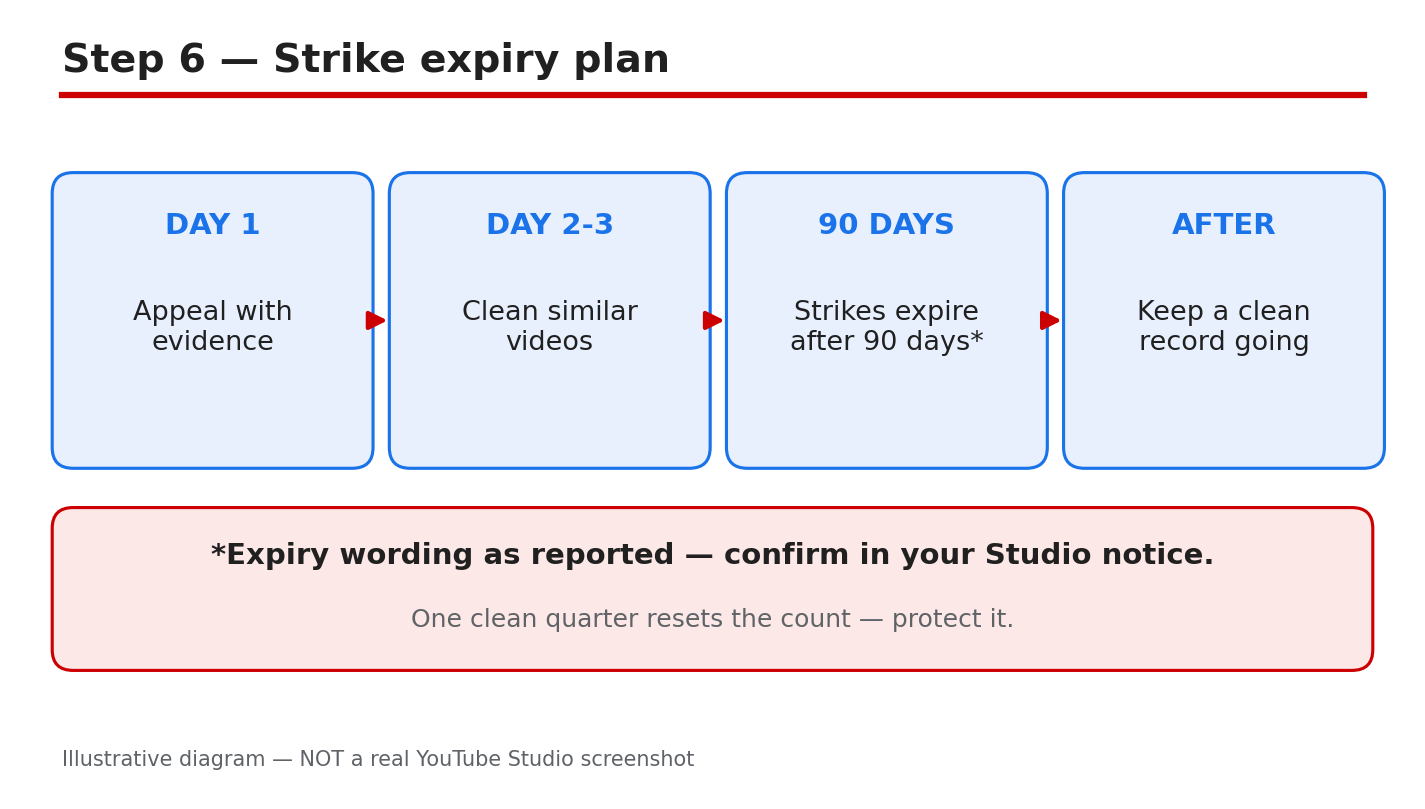
Illustrative diagram/mock-up, NOT a real YouTube Studio screenshot: a strike-expiry and clean-record plan.
Checklist: Appeal in Order
- Notice label read: warning, strike, or claim identified.
- Policy named, dates, and appeal window copied from Studio.
- Appeal written against the rule actually named, with facts.
- Licence or context evidence attached, where Studio asks for it.
- Same video not re-uploaded, and no second channel used.
- Similar videos reviewed, and the same risk fixed.
- Expiry date noted, and a clean-record checklist kept.
Frequently Asked Questions
Can I appeal a strike more than once?
YouTube Help says you may appeal each strike only once, so make the first appeal complete. Check your Studio notice for the appeal option for your case, and do not rely on a second chance.
How long does a strike appeal take?
Review time is reported as usually 24 to 48 hours for many cases, but times vary. Check email and Studio, and do not send repeated appeals while you wait.
Does deleting the video remove the strike?
No. YouTube Help says deleting the video will not resolve the strike, and the strike remains on your channel. Fix the cause, and keep the record of what you changed.
What if I think the strike is wrong, but I have no evidence?
Read the exact policy again, watch the flagged part, and look for context, a licence, or an edit that changes the decision. If you still have no clear fact, do not guess: accept the warning or strike, and plan safer videos.
Will one strike end my channel?
Not on its own, as reported. The risk grows with repeated strikes within 90 days, so use the first strike as a warning to change the habit that caused it, and confirm your dates in Studio.
Sources: Check It Yourself
Official pages opened and verified live on 29 October 2026. Check the current wording before acting, because Studio options and Help wording can change.
- Community Guidelines strike basics on YouTube (YouTube Help)
- Appeal a Community Guidelines strike or video removal (YouTube Help)
No official YouTube video is embedded here. No exact official video URL was verified live in this run.