YouTube Video Blurry After Upload? Why HD Is Stuck at 360p and How to Fix It
 CreatorPlaybook Team
- 30 Oct, 2026
Your video looked sharp on your phone, but on YouTube it looks soft, blocky, and stuck at 360p. Before you delete it and upload it again, stop. In most cases, the video is not broken. YouTube publishes a low-quality version first and adds the high-definition versions later, while your own connection can also force the player down to 360p. This guide shows you how to tell which of the three causes is behind your blurry video, how to check the real processing status in YouTube Studio, and how to fix a video that stays soft after processing has finished. Follow the six steps in order.
What You Will Learn
- How to tell a connection problem, a processing delay, and a low-quality source file apart.
- Where to check HD processing status in YouTube Studio and on the watch page.
- Why 4K and 1080p videos take hours to finish processing.
- How to audit your original file, export settings, and bitrate.
- When to wait, when to re-export, and when to re-upload.
- A sharp-upload routine you can repeat for every new video.
Step 1: Find Out Who Sees the Blur
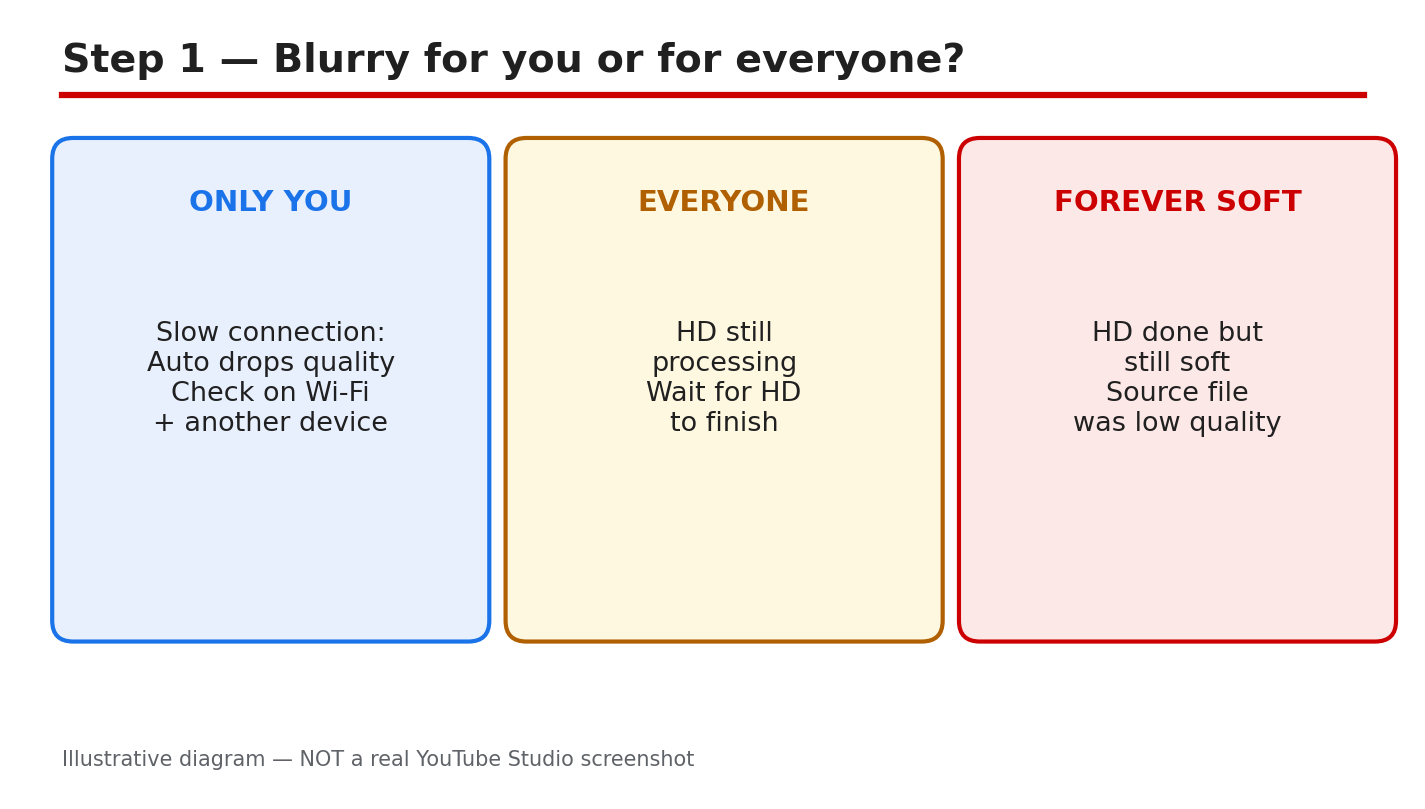
Open your video on fast Wi-Fi, then open it again on mobile data and on a second device, such as a laptop or a friend’s phone. If the video looks sharp on one connection and blurry on another, the problem is your connection, not your upload. YouTube’s Auto quality setting drops the resolution when the connection is slow, so a video can look like 360p on weak Wi-Fi and 1080p on a strong connection.
Example: your edit looks crisp on your laptop at home, but blurry on your phone on the bus. That is a connection problem, and re-uploading will not fix it. Common mistake: deleting the video and uploading it again before checking another device. If everyone sees the same soft picture on fast connections, the cause is different: either HD is still processing, or your source file was already low quality. Ask two people to check.
Figure 1: Illustrative diagram showing how to tell a blurry-for-you problem from a blurry-for-everyone problem. This is a mock-up, not a real YouTube Studio screenshot.
Step 2: Check Whether HD Has Finished Processing
In YouTube Studio, go to Content, find your video, and look at the row for it. Studio shows the processing status, and you can also open the video’s watch page, click Settings, then Quality. If 1080p or 4K is missing from that menu, HD is still processing. YouTube processes the low-quality version first so the video can go live quickly, then adds the higher qualities in the background.
Example: you publish at 6 p.m. and the quality menu tops out at 360p. By 10 p.m., 1080p appears without you touching anything. Common mistake: judging the video in the first hour and telling viewers it is broken. Give processing time to finish, and check the quality menu again after a few hours before you take any other step.
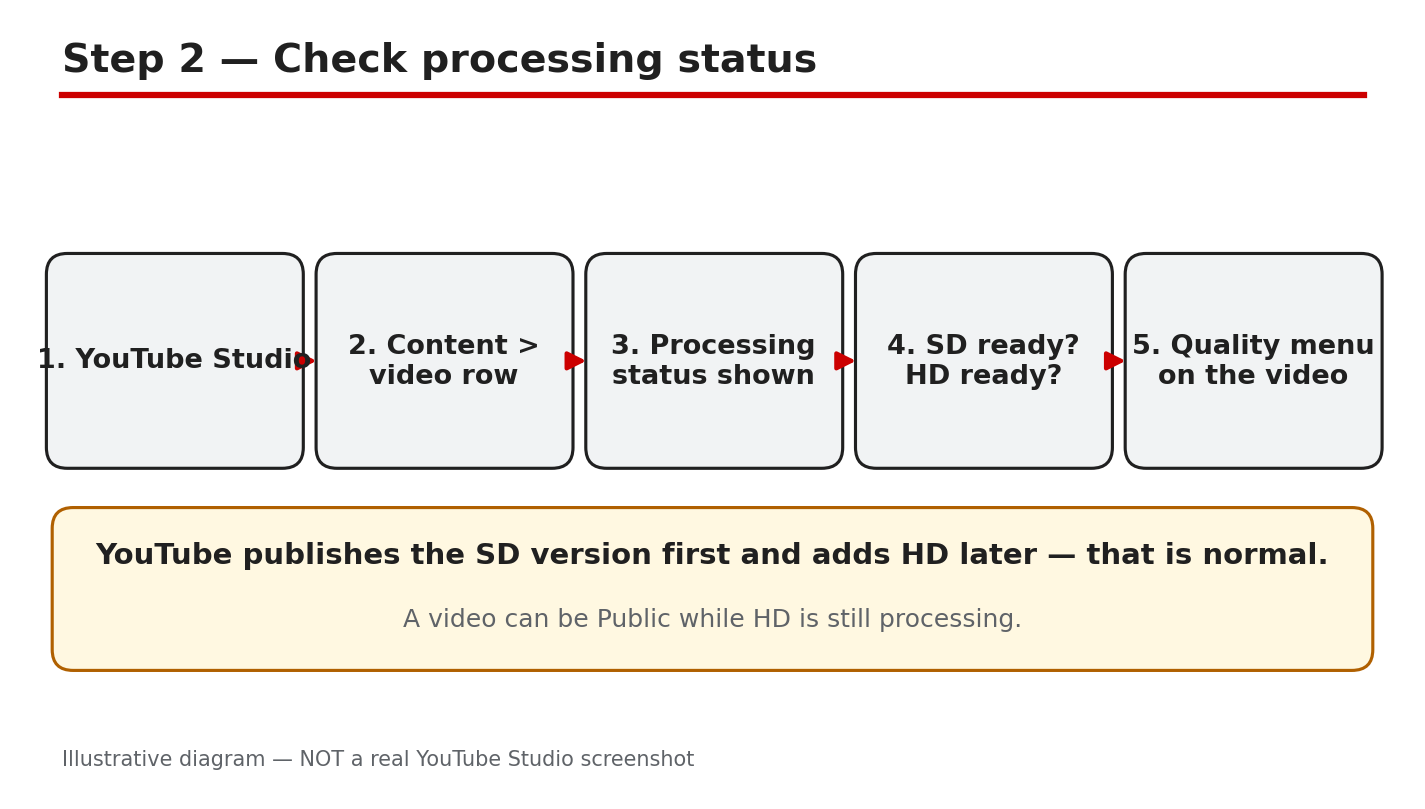
Figure 2: Illustrative diagram of the Studio Content row and the watch-page Quality menu used to check HD processing. This is a mock-up, not a real YouTube Studio screenshot.
Step 3: Understand Why HD Takes So Long
Processing time depends on the video format, length, frame rate, quality, and traffic, according to YouTube Help. Higher-quality videos take longer to upload and to process. YouTube reports that a 4K video is four times larger than a 1080p video, so it can take four times longer for 4K quality to become available after the upload finishes. A 60-minute 4K video at 30fps can take up to 4 hours to finish high-resolution processing, and a 60fps 4K video will take longer.
Example: a 45-minute 4K tutorial uploaded at noon may still show only 360p at 3 p.m. That is normal processing, not a failed upload. Common mistake: re-uploading the same file because the HD version is slow, which only restarts the whole queue. Upload long 4K videos early, and never promise viewers a sharp premiere in the first hours.
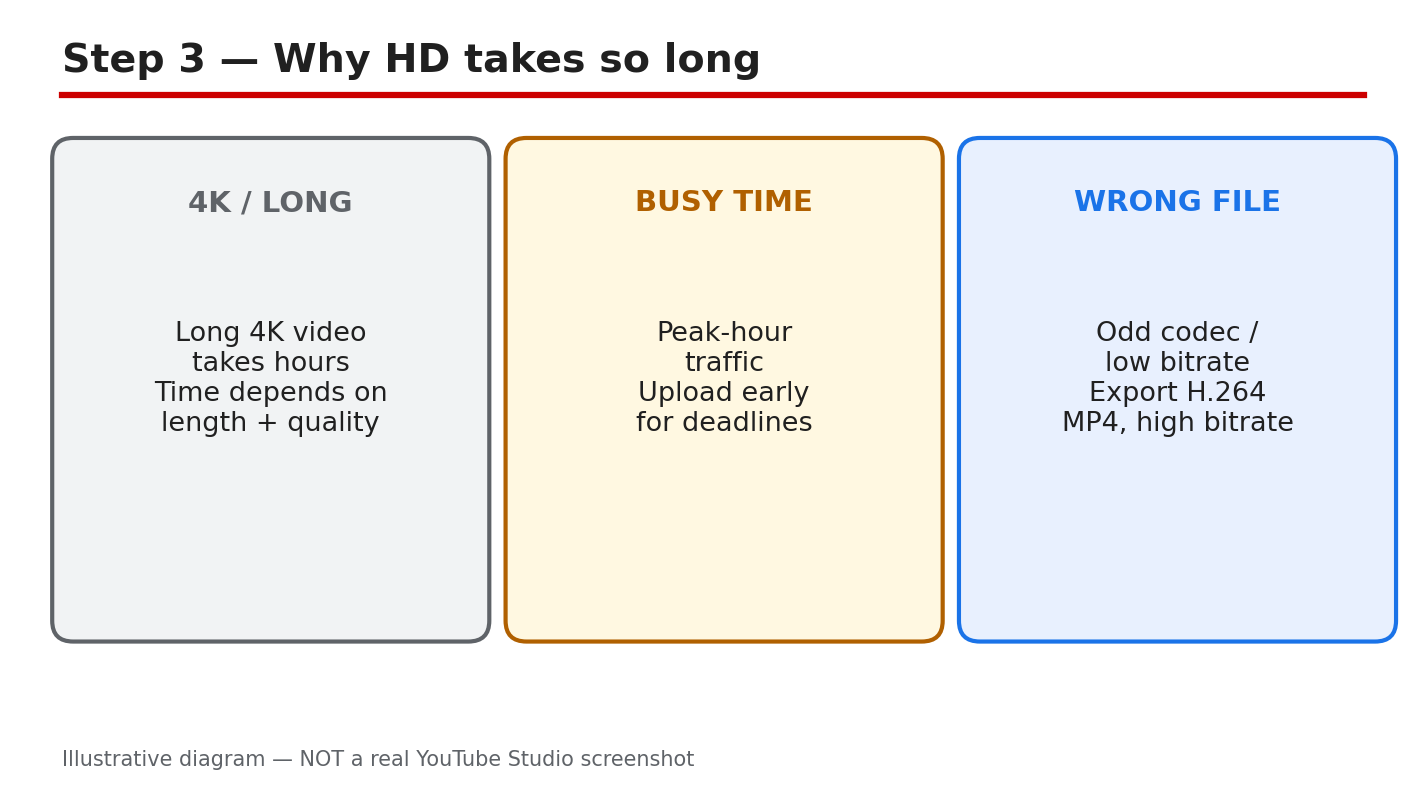
Figure 3: Illustrative diagram of the factors that slow HD processing: length, 4K resolution, 60fps, and busy traffic. This is a mock-up, not a real YouTube Studio screenshot.
Step 4: Audit Your Original File and Export
Open the original file on your computer and check its resolution. If it is 720p or lower, YouTube cannot invent detail that was never there, and the video will stay soft even after processing finishes. A video sent through WhatsApp as a normal chat message is compressed to 720p or lower, so always ask the sender to send the original as a Document instead. Finally, check your export: use 1080p or higher, a high bitrate, and the same frame rate as your recording.
Example: a friend sends you a clip on WhatsApp, you upload it, and it never goes past 720p. The fix is the original file, sent as a Document. Common mistake: raising the export resolution to 4K from a 720p source and expecting a sharper picture. Upscaling a soft file only makes a bigger soft file, so start from the sharpest original you have.
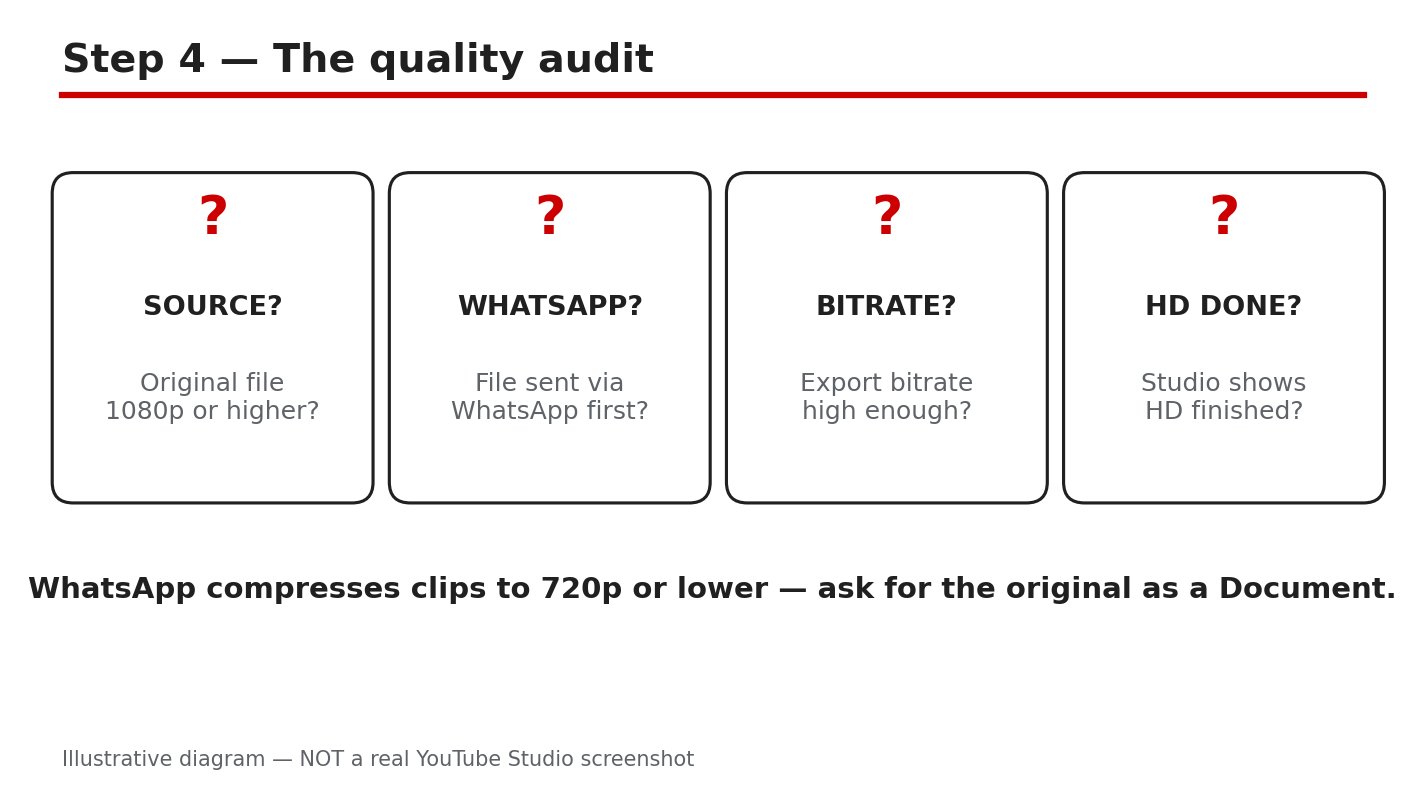
Figure 4: Illustrative diagram of a quality audit: original resolution, WhatsApp compression, and export bitrate. This is a mock-up, not a real YouTube Studio screenshot.
Step 5: Fix a Video That Stays Soft
Wait until the quality menu shows that HD has finished before you decide the video is broken. If HD is done and the picture is still soft, the source is the problem, and no setting inside YouTube will sharpen it. Re-export the video at 1080p with a high bitrate from the sharpest original file, then upload the new version as Private first. Check the new upload on the watch page, and only replace the live video once the new one looks sharp.
Example: a tutorial stays soft at 720p after a full day, so you re-export it at 1080p from the original project and upload it as Private. Once HD finishes, you swap it in. Common mistake: deleting the live video before the replacement is ready, which loses its views and watch time. Keep the live video up until the new one is ready to publish.
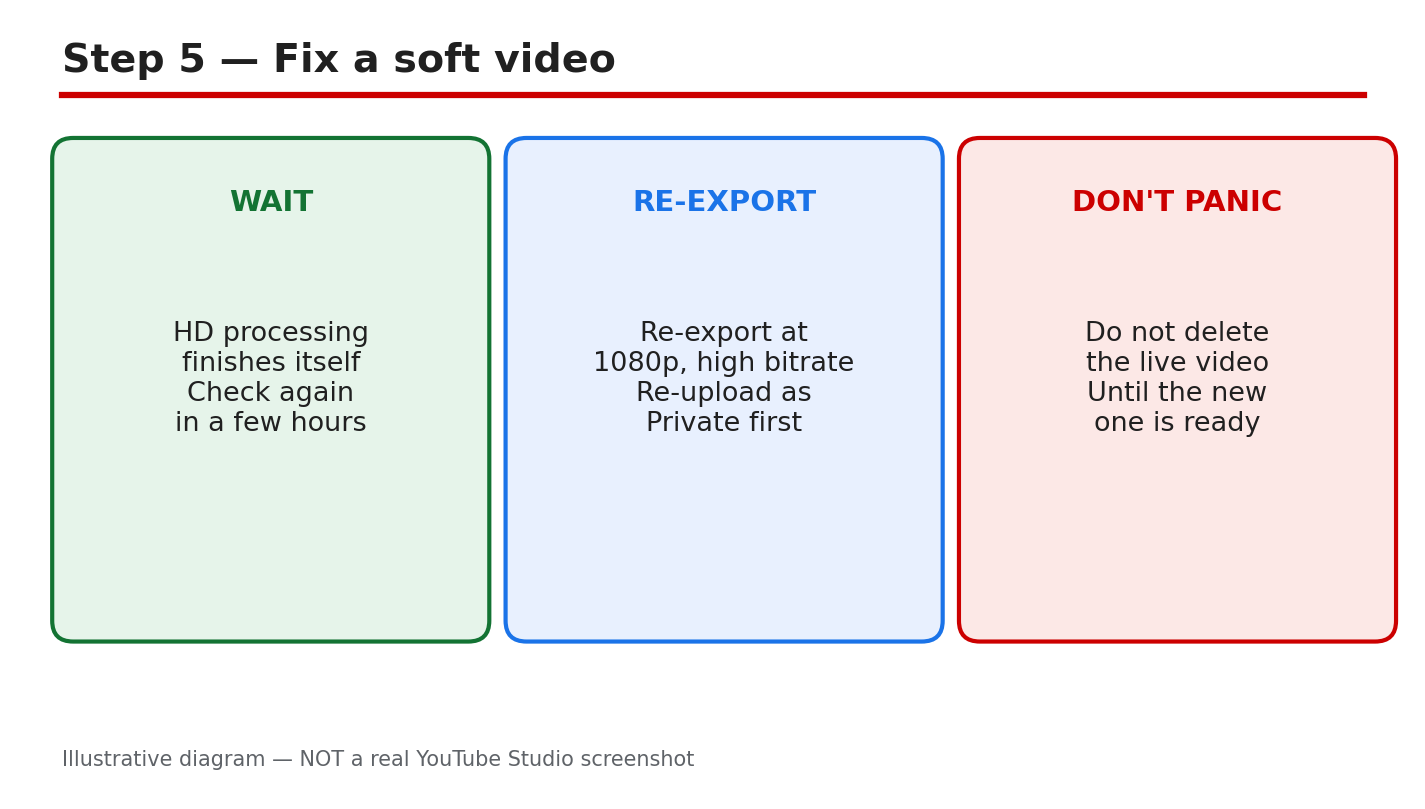
Figure 5: Illustrative diagram of the fix: wait for HD, re-export at 1080p, upload as Private, then replace. This is a mock-up, not a real YouTube Studio screenshot.
Step 6: Use a Sharp-Upload Routine Every Time
Make every upload follow the same routine. Export at 1080p or higher with a high bitrate, then upload the video as Private or Unlisted. Wait until the quality menu shows 1080p or 4K, then switch the video to Public or let your scheduled time run. This removes the most common reason viewers see a blurry first impression.
Example: you upload Friday’s video as Private on Thursday night, confirm 1080p on Friday morning, then make it Public. Common mistake: publishing a 4K video the minute the upload bar hits 100 percent and sharing the link everywhere while it is still 360p. First impressions stick, so let HD finish before anyone watches.
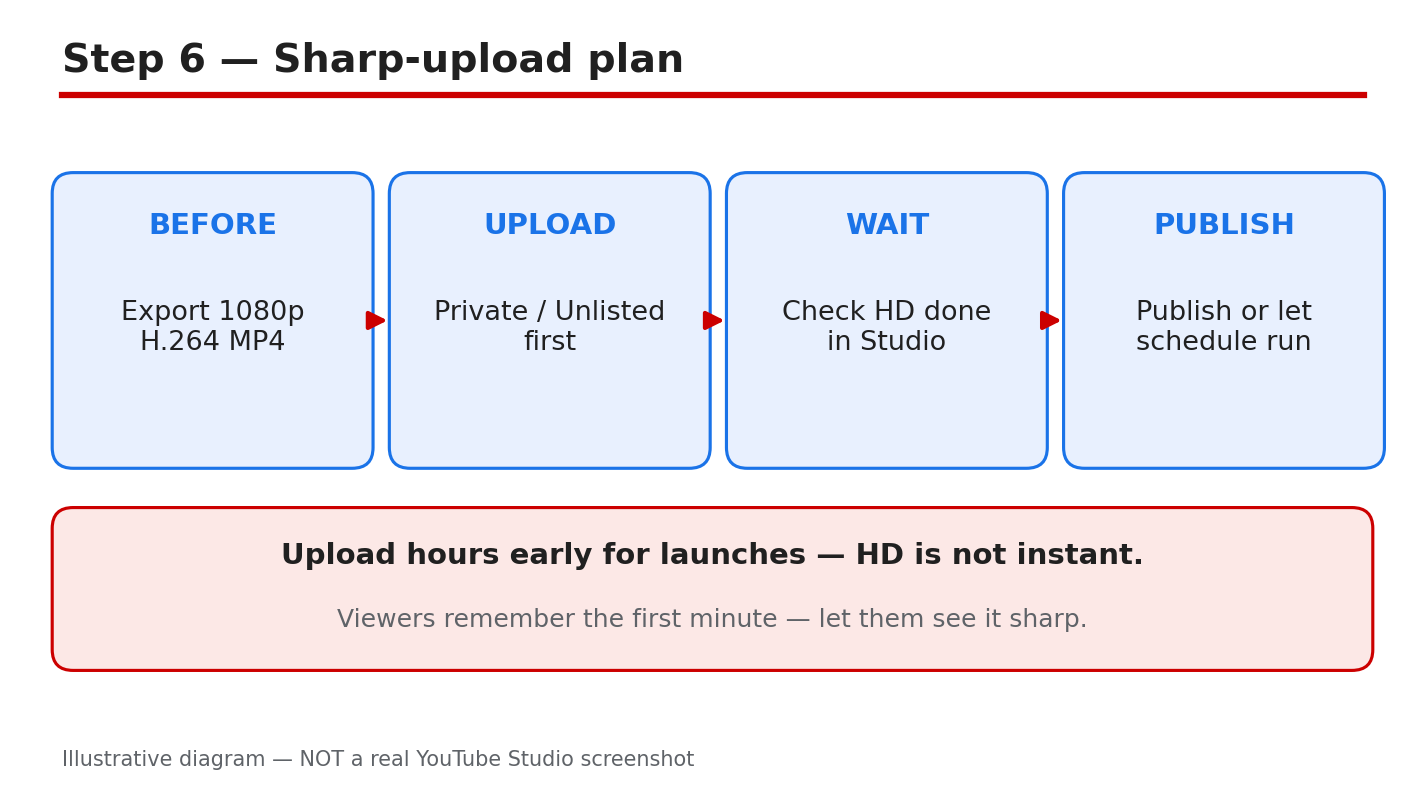
Figure 6: Illustrative diagram of the sharp-upload routine: export, upload Private, wait for HD, then publish. This is a mock-up, not a real YouTube Studio screenshot.
Quick Checklist
- Checked the video on Wi-Fi and on a second device.
- Opened the watch-page Quality menu to confirm HD is finished.
- Waited several hours for a long 4K upload to process.
- Confirmed the original file is 1080p or higher.
- Asked for the original file as a Document, not a WhatsApp chat video.
- Re-uploaded as Private first, and kept the live video until ready.
Frequently Asked Questions
Why is my YouTube video stuck at 360p?
YouTube publishes the low-quality version first and adds HD later. A 60-minute 4K video at 30fps can take up to 4 hours to finish high-resolution processing, according to YouTube Help.
Why does my video look blurry only on my phone?
Your connection is the likely cause. YouTube’s Auto setting lowers quality on slow connections, so test the same video on fast Wi-Fi and on another device before changing anything.
Can I make a 720p video look like 1080p?
No. YouTube cannot add detail that was never in the source file, so re-export from the sharpest original you have, at 1080p or higher with a high bitrate.
Should I delete a blurry video and upload it again?
Not right away. Wait for HD to finish, and if the video is still soft, upload the fixed version as Private first. Delete the live video only after the replacement is ready.
Does verifying my account speed up processing?
YouTube Help says verifying your account gives the best processing time, so it is worth doing. It does not turn a low-quality source file into HD, but it removes one avoidable delay.
Sources — Check It Yourself
- YouTube Help: Low video quality after upload
- YouTube Help: Upload videos longer than 15 minutes
- Related on CreatorPlaybook: YouTube Video Stuck Uploading or Processing? How to Fix It Without Losing the Video